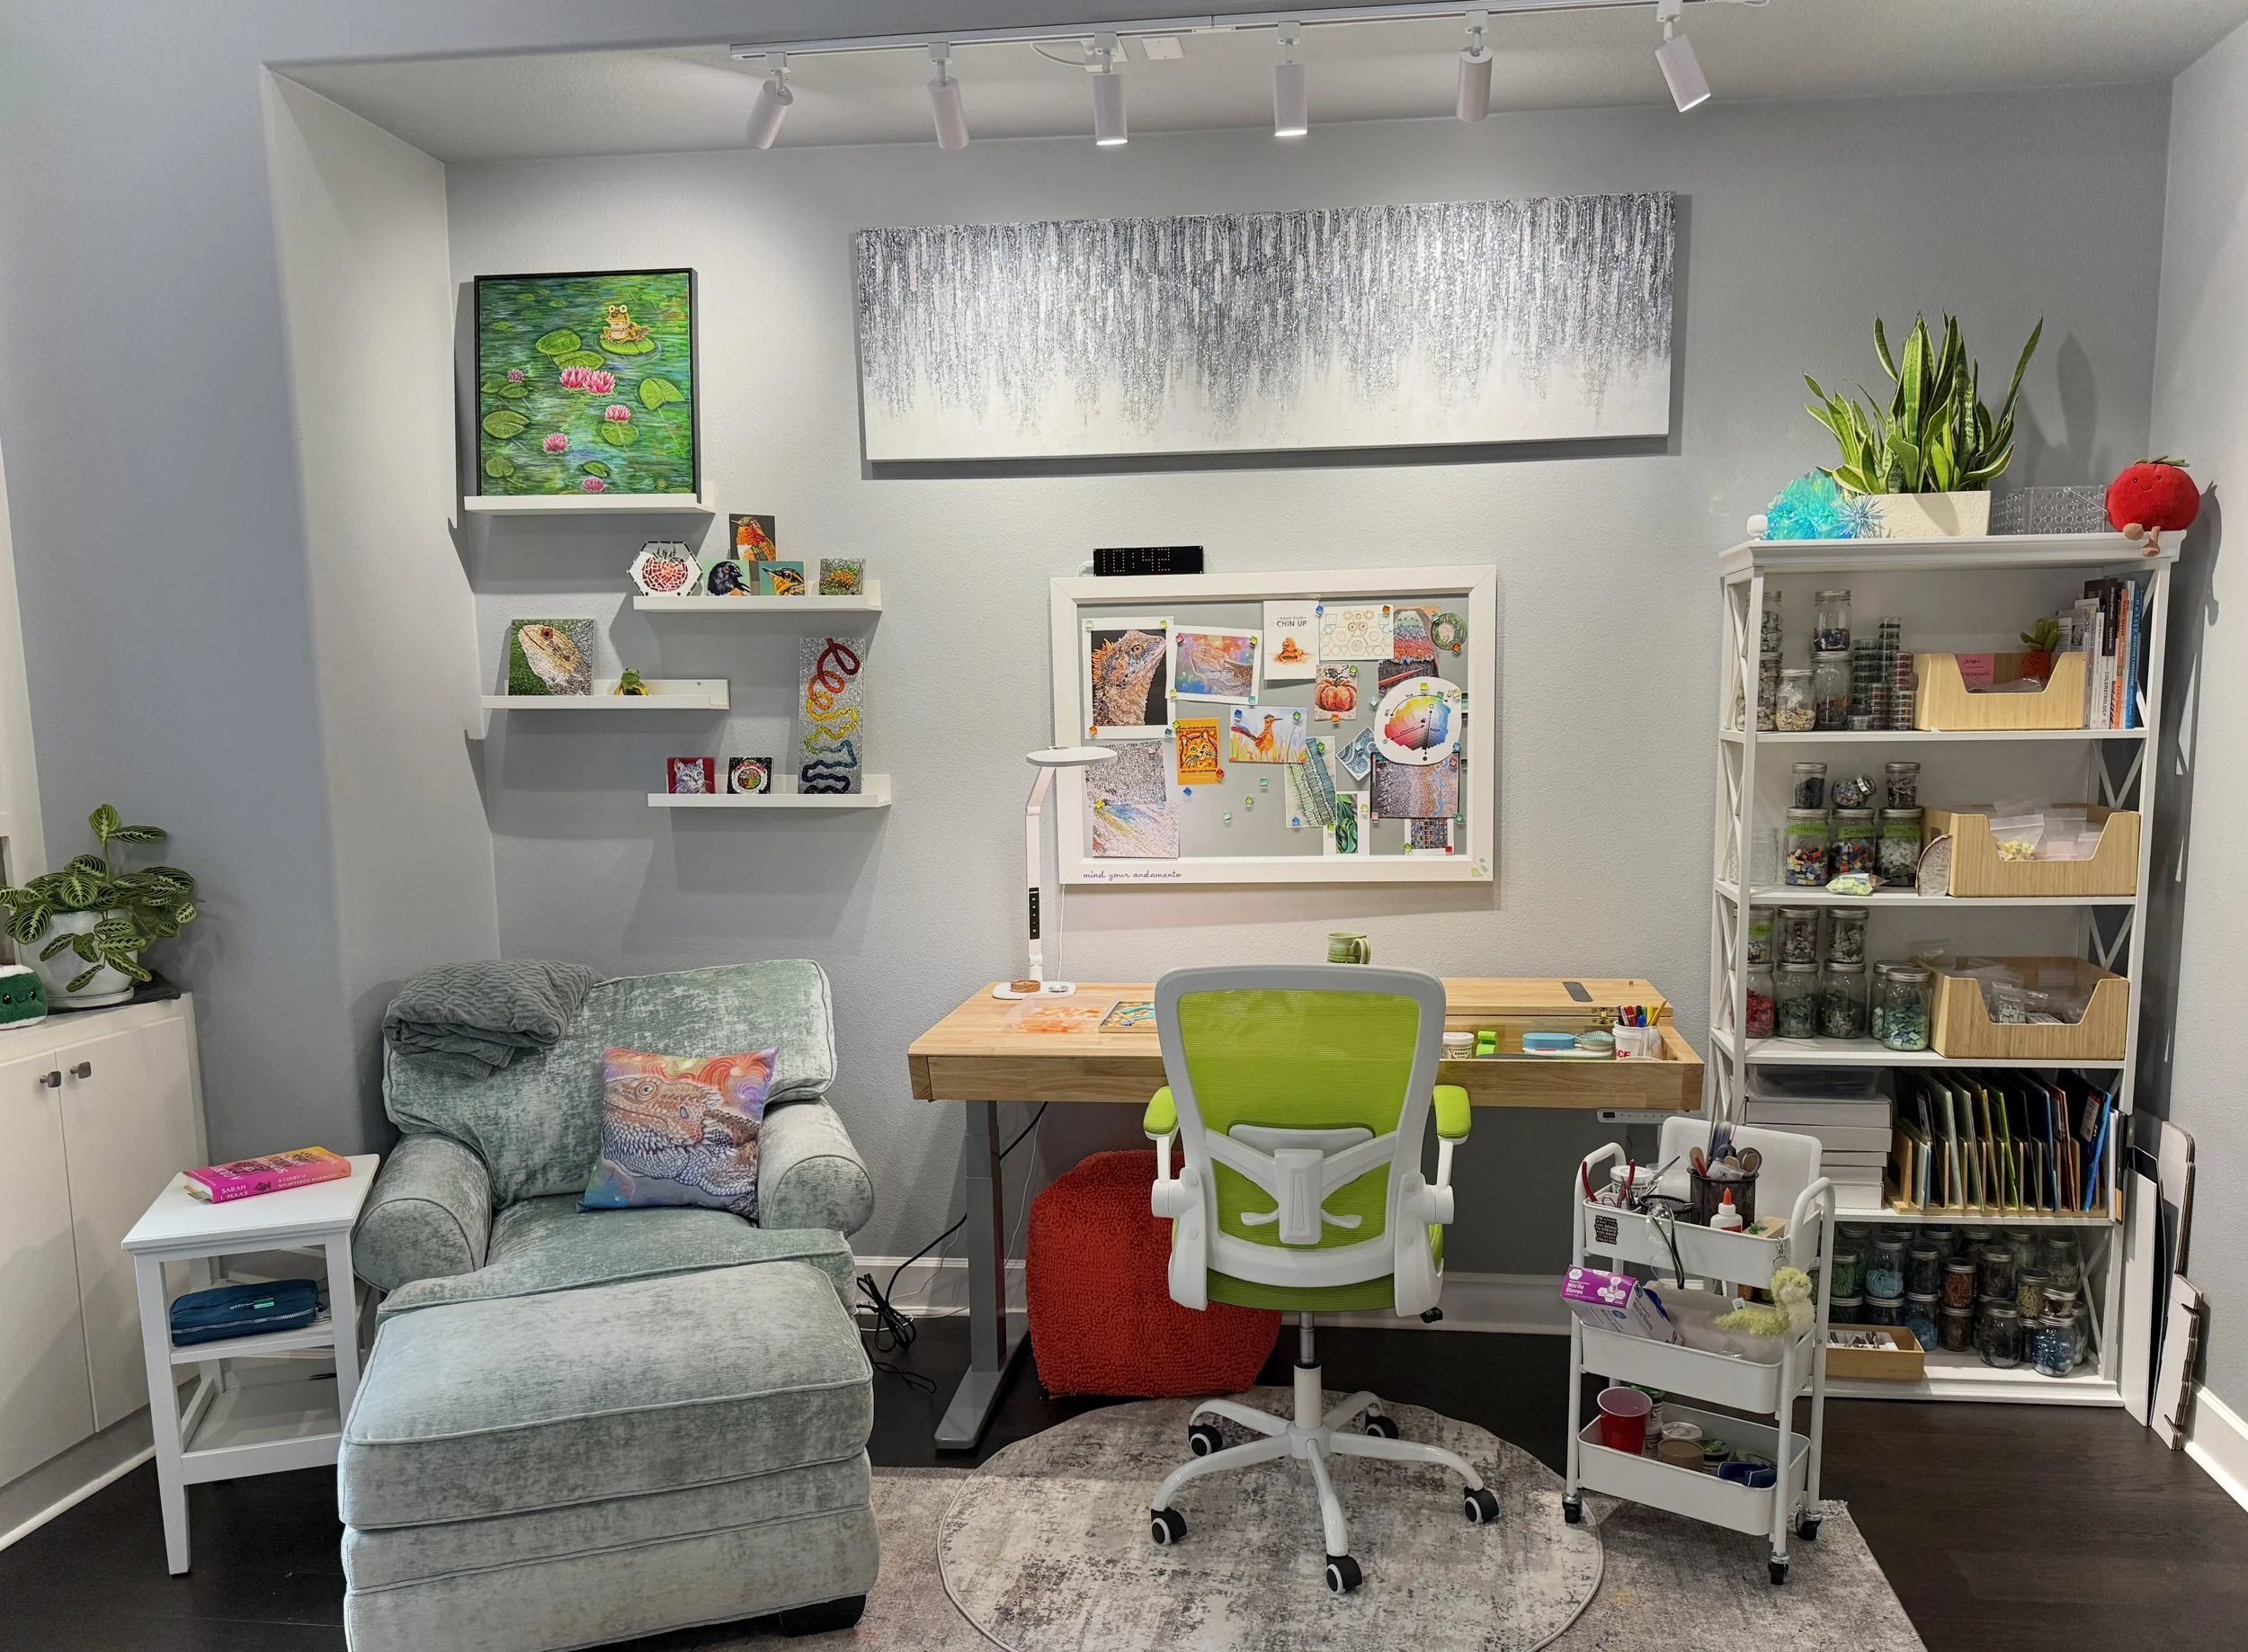
Hi and welcome to the studio! My husband and I share our large bonus room — he has his side for coding, watchmaking, and 3D printing, and I have mine for glass, art, and a calm place for yoga or reading. We both love making things and spending time together, so it works out beautifully.
My studio has two distinct spaces — indoors where I play with materials, work out project details, and finish pieces, and the garage where I fire up the torch and pull threads or break down large batches of tesserae on my hardie. Each space has its own energy, and I love moving between them.
Scroll down for a look around. : )
The Indoor Space
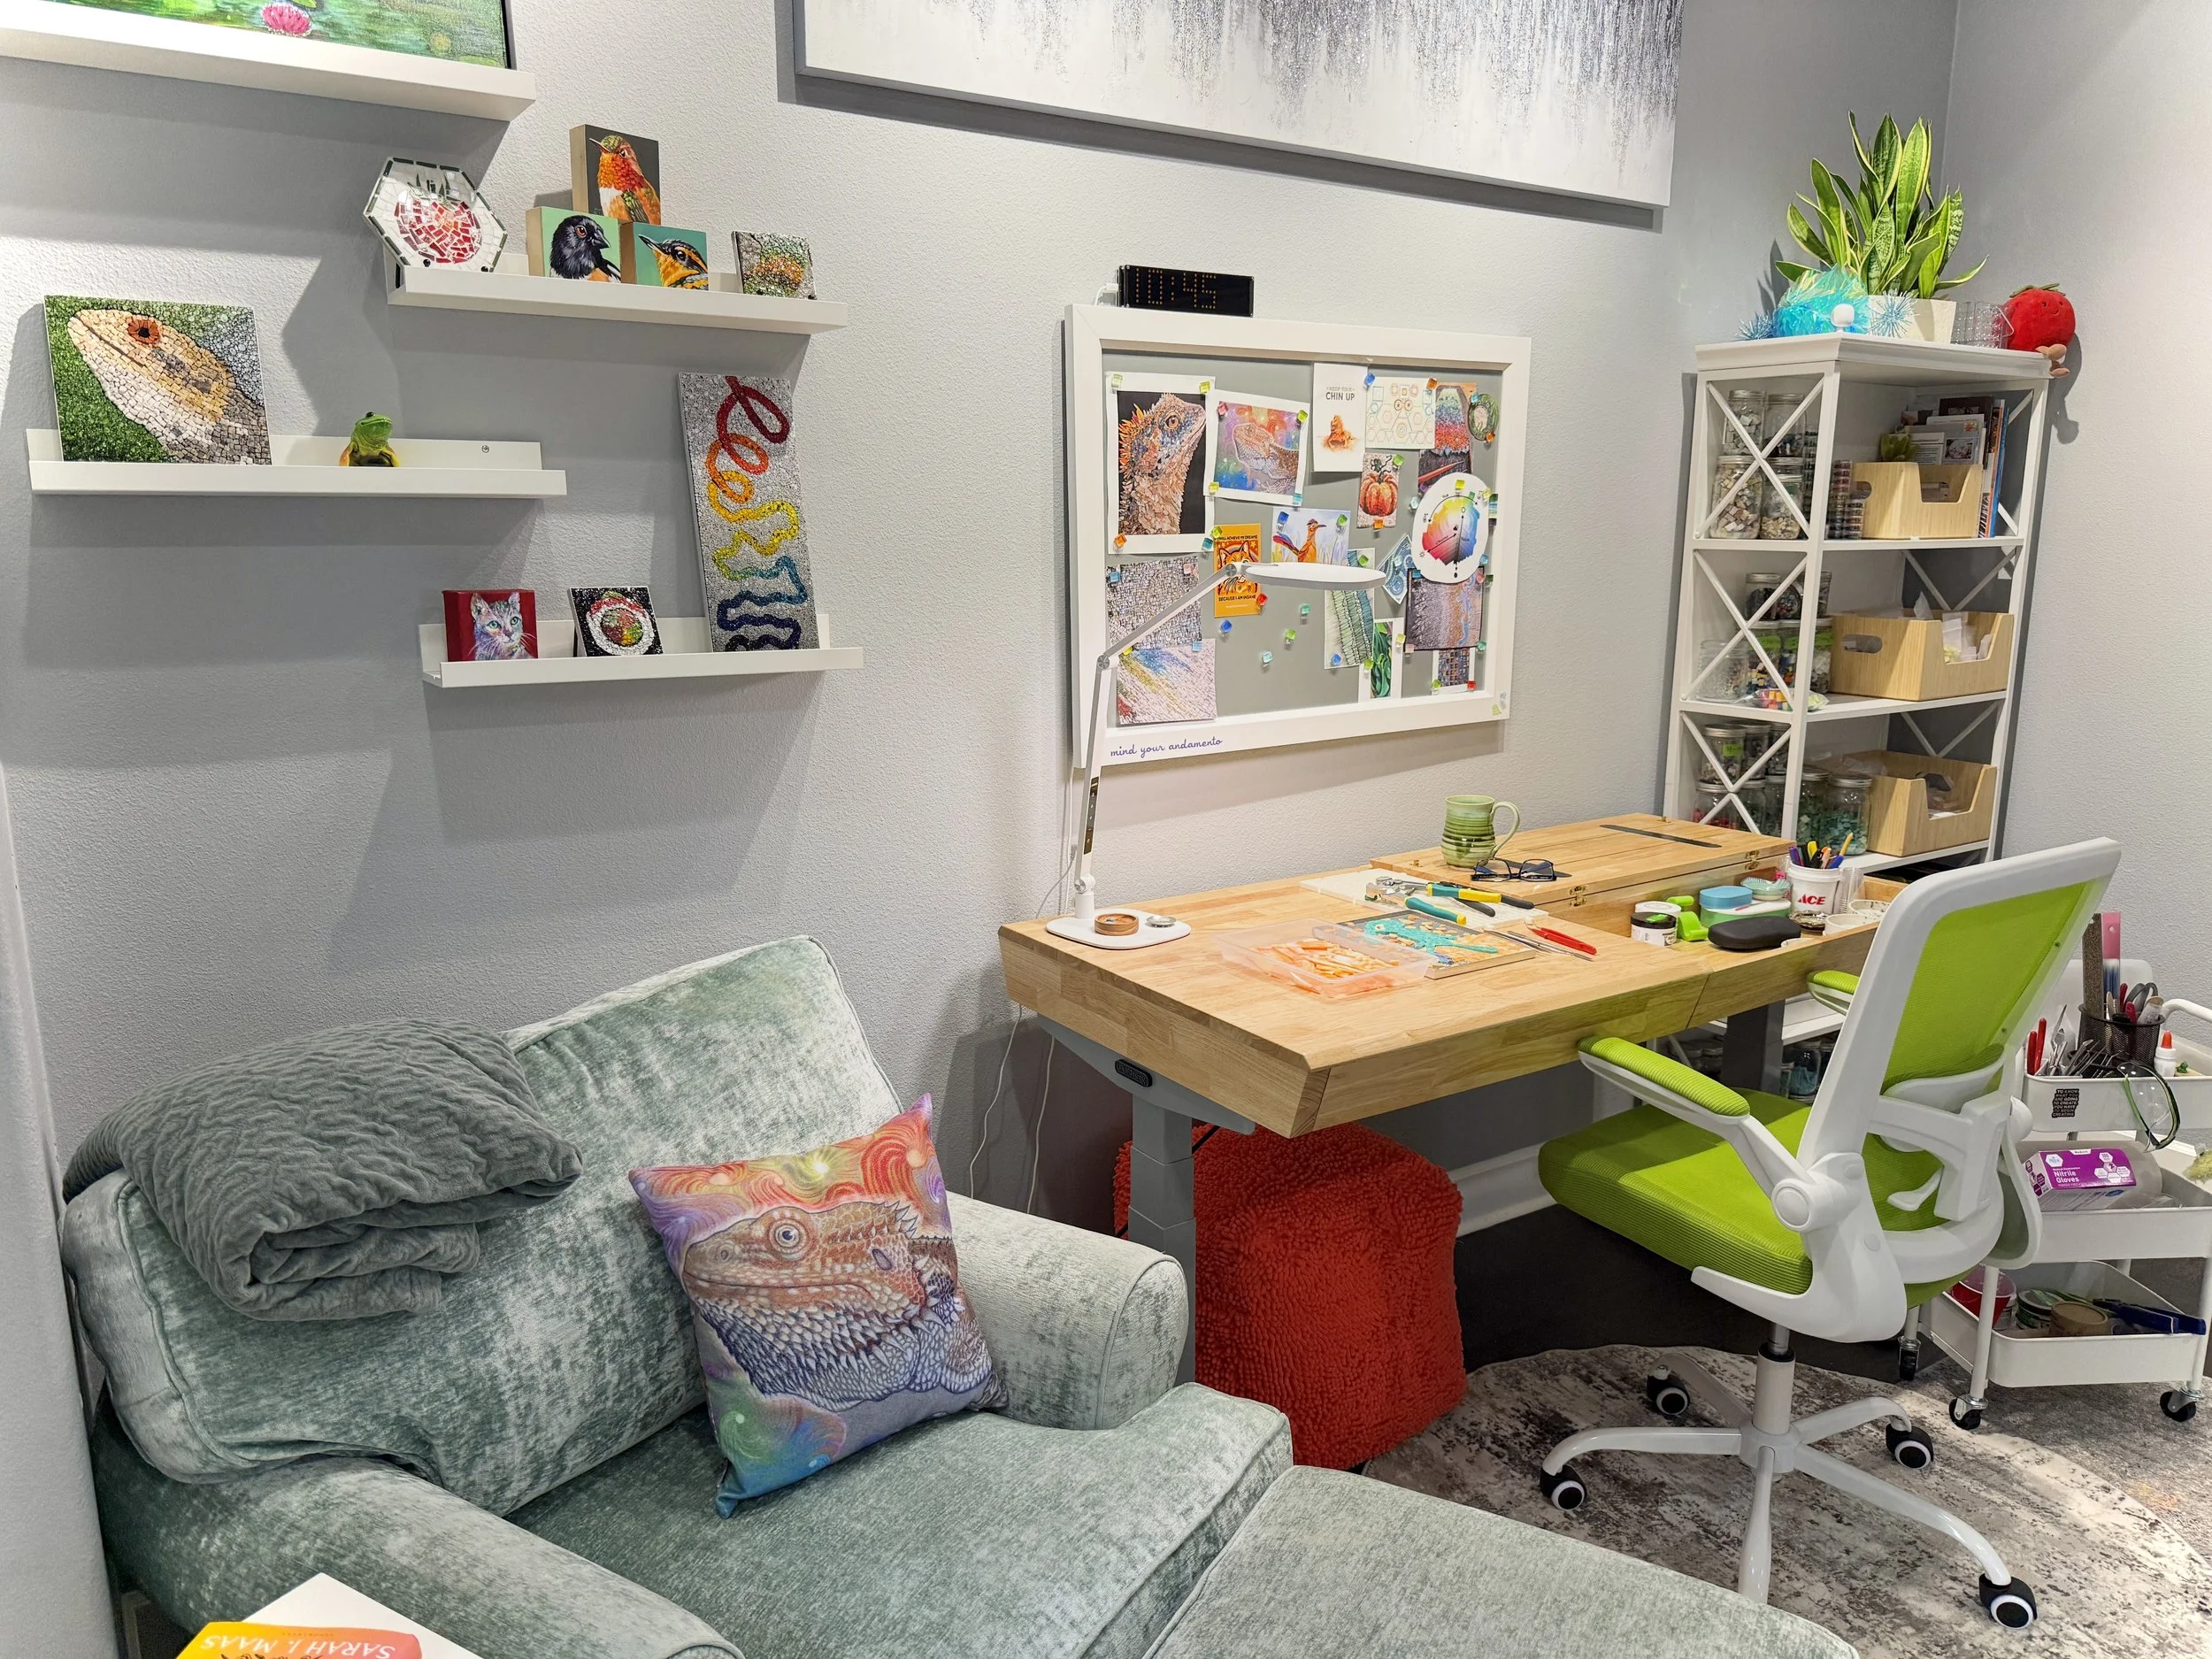
There’s a reason I love spending time in here. Natural light pours in from a large picture window, the layout is spacious, and joyful touches of color and whimsy are everywhere. Living with them keeps me inspired every single day.
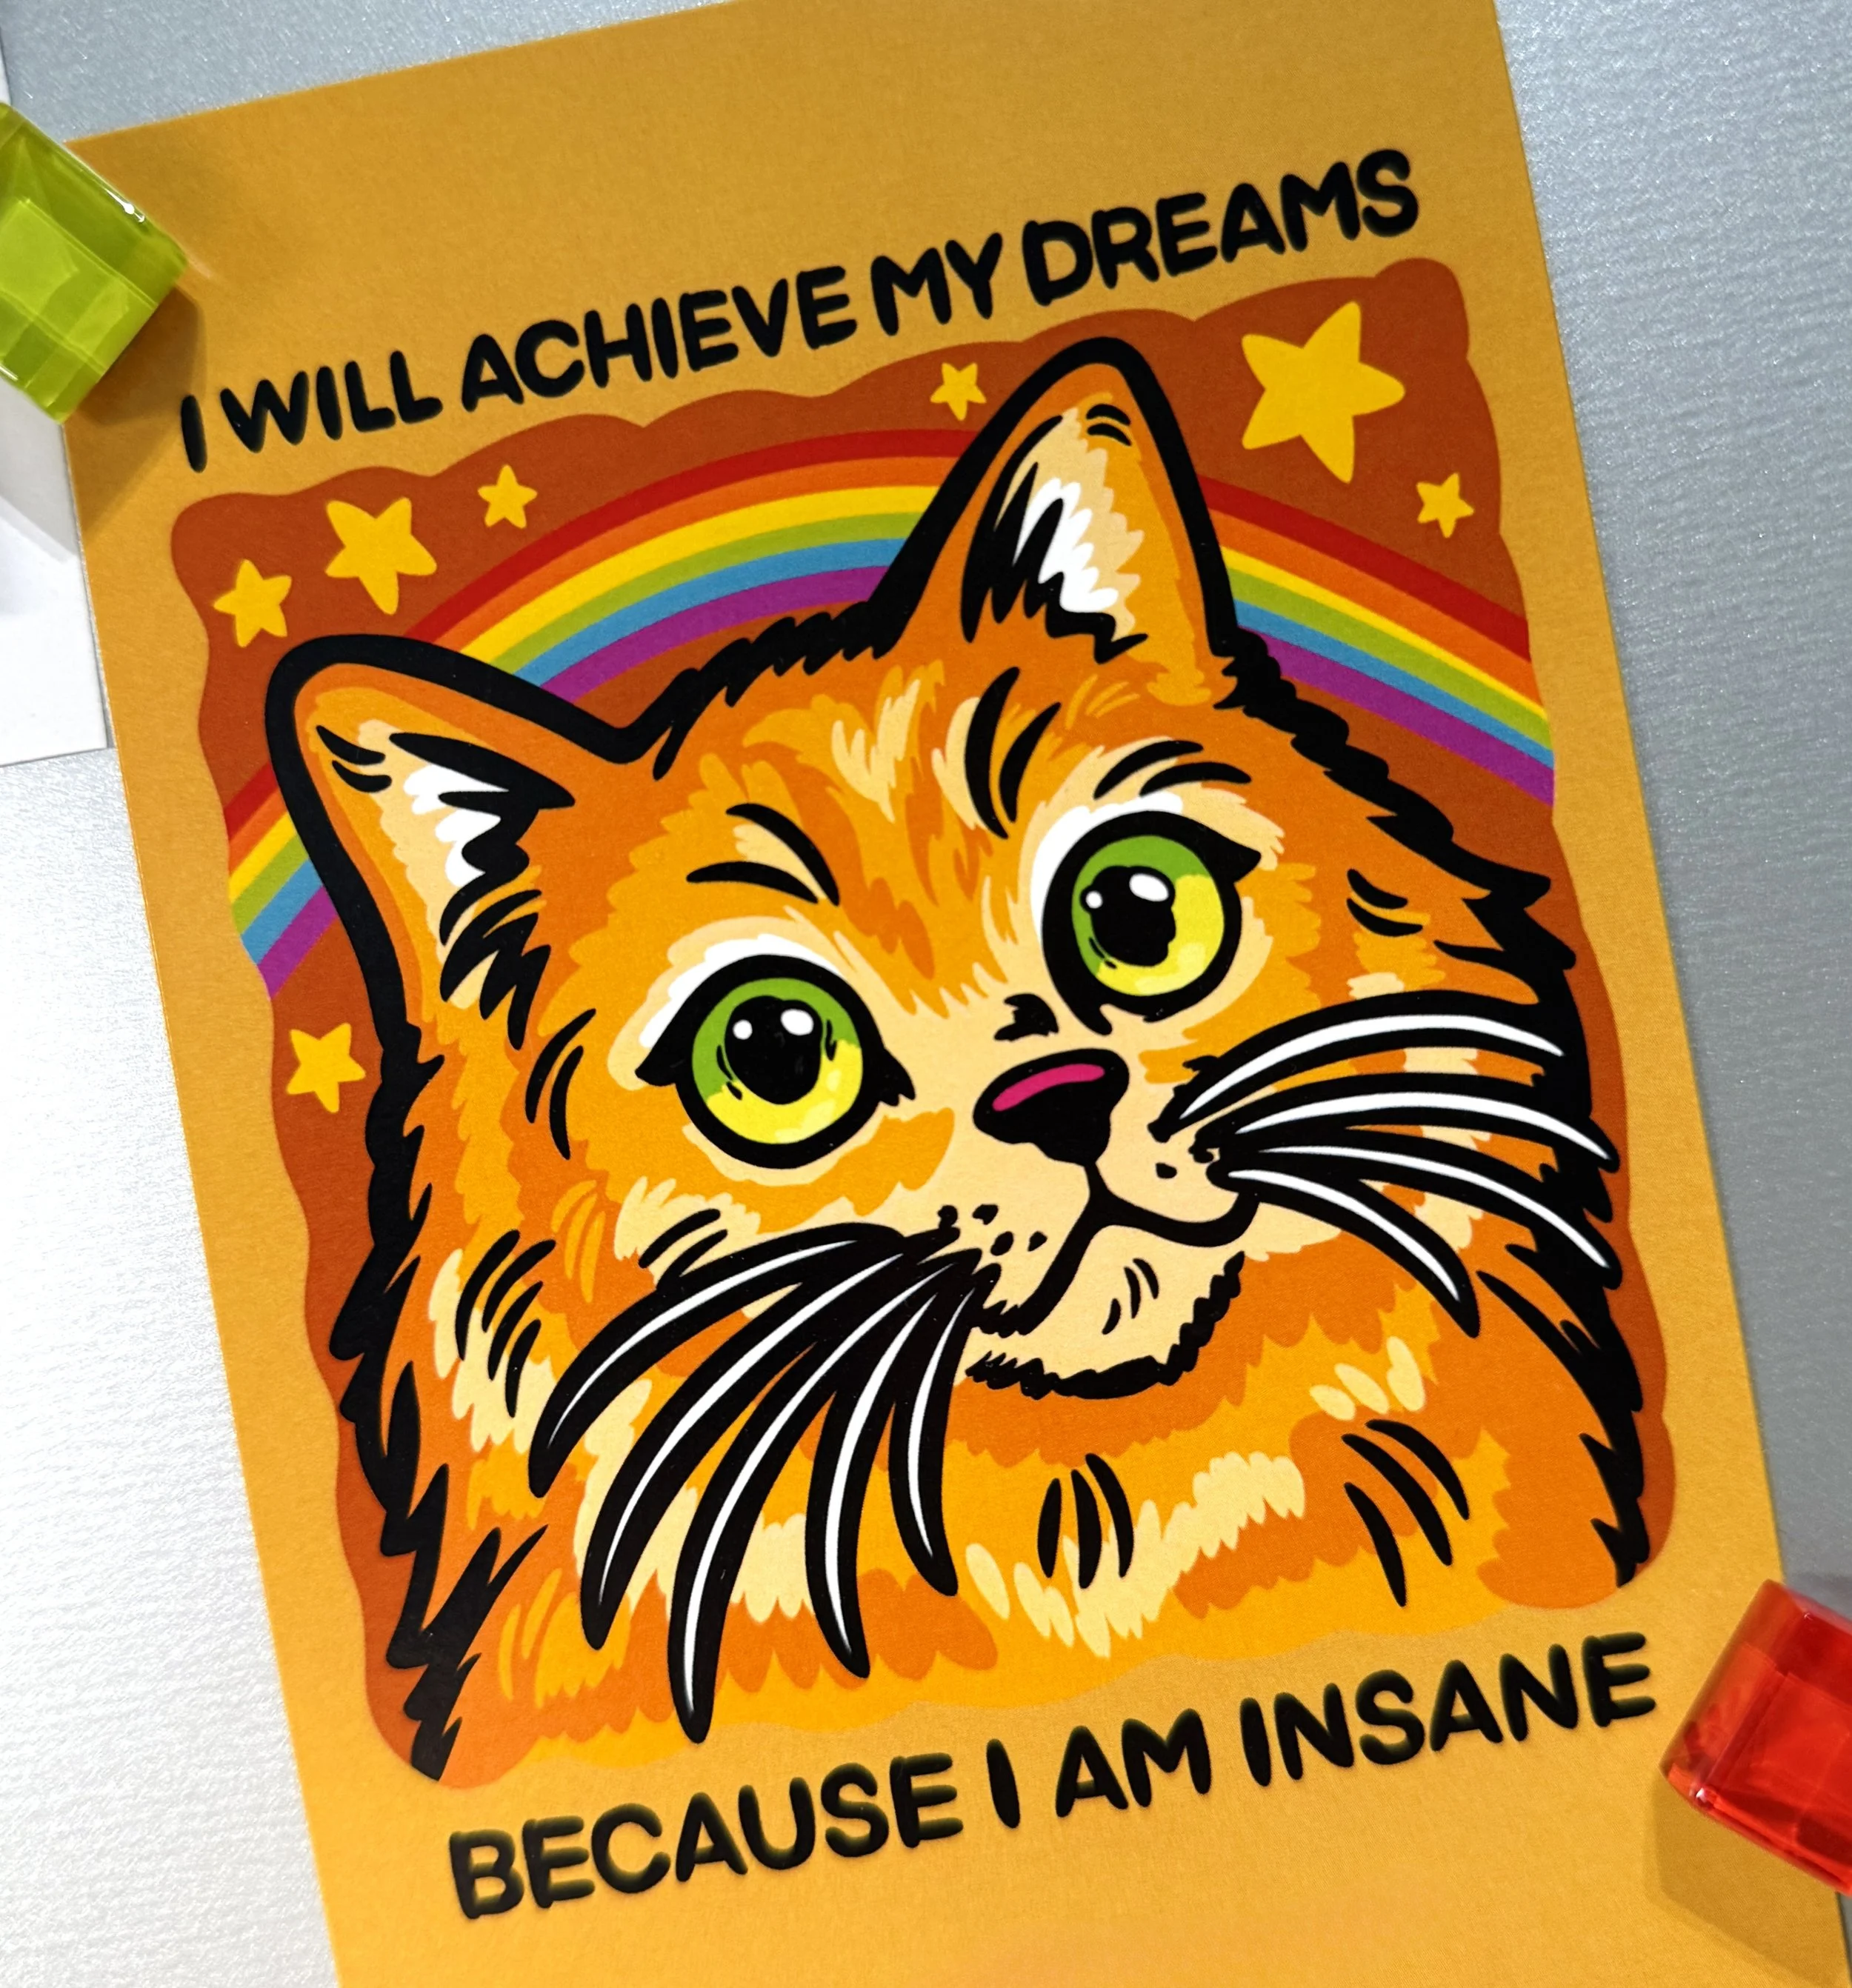
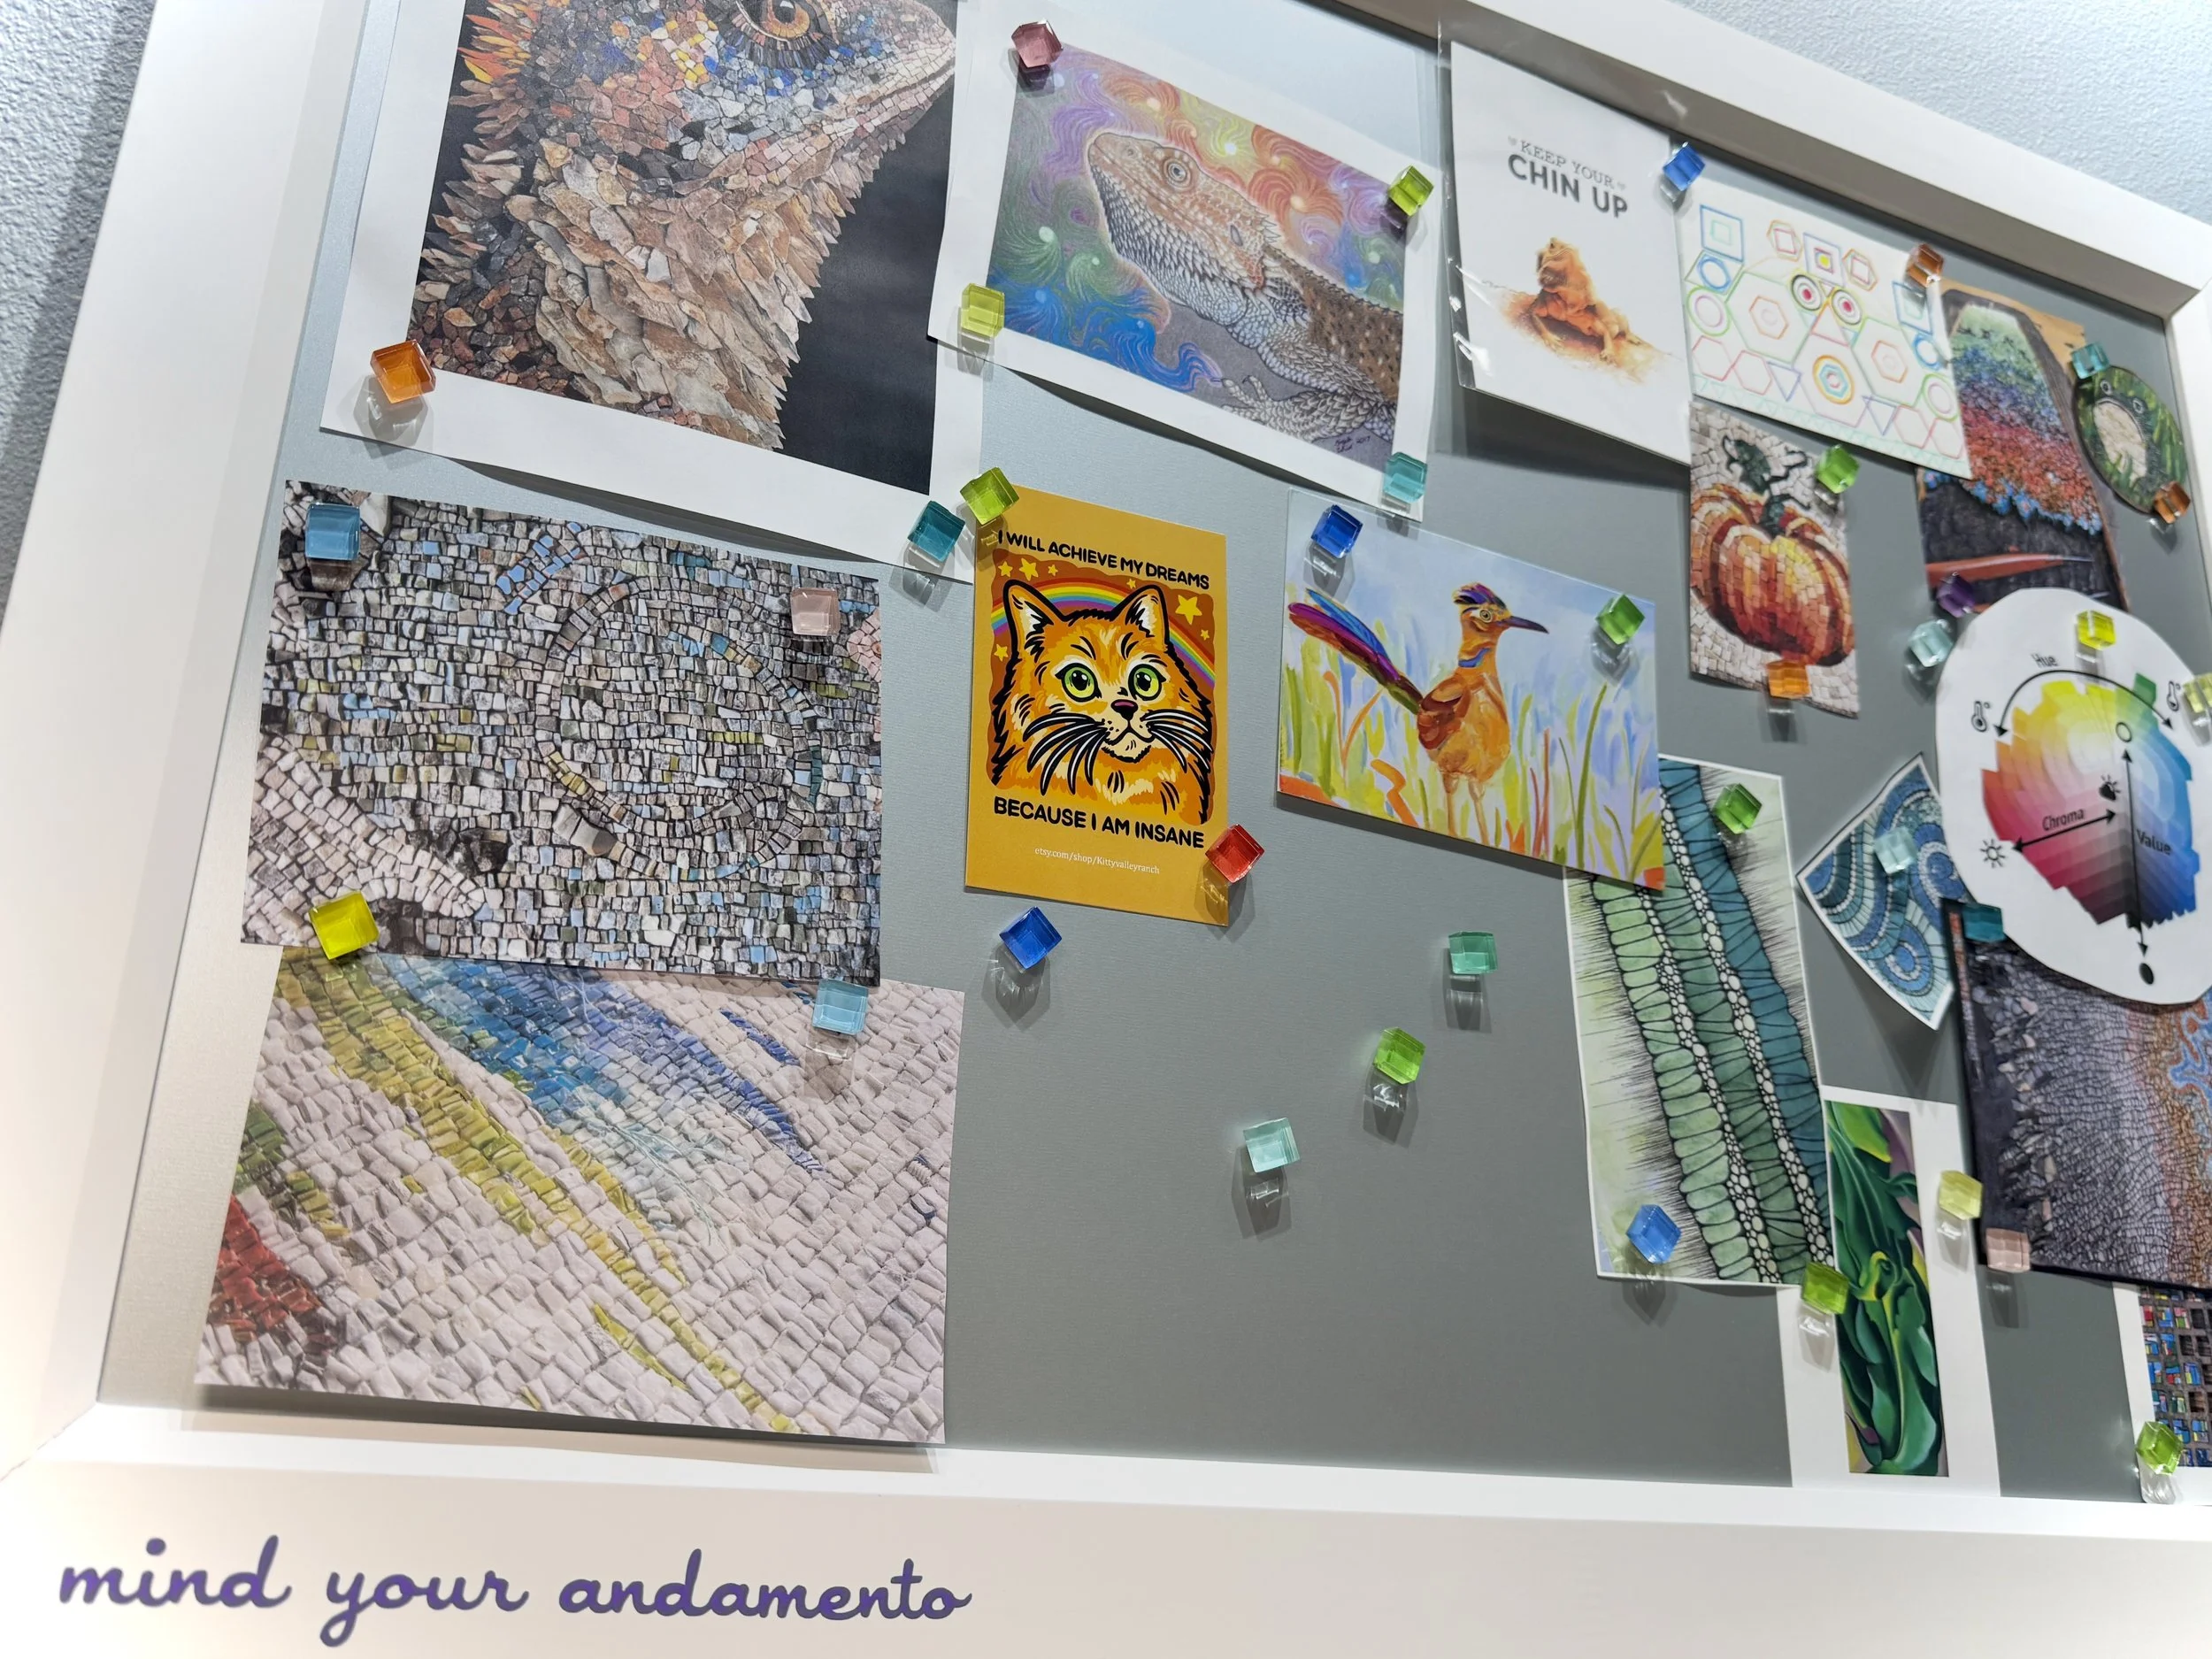
My Uplift desk is one of my favorite investments — a craft desk with hidden storage that keeps everything organized and within reach. Being able to shift from sitting to standing makes a real difference when you’re deep in a piece for hours. I also keep a tool cart close by so everything I need is at hand when working. Right above the desk is my inspiration board with current project sketches, future ideas, and things that simply make me happy.
Good lighting and music might sound like small things, but they shape every session. My table lamp angles exactly where I need it, shifts hue, and adjusts intensity depending on what I’m working on — I really love my lamp! And music is almost always on. Mosaic is slow, mindful work, and the right playlist sets the whole tone.
Sketching & Design
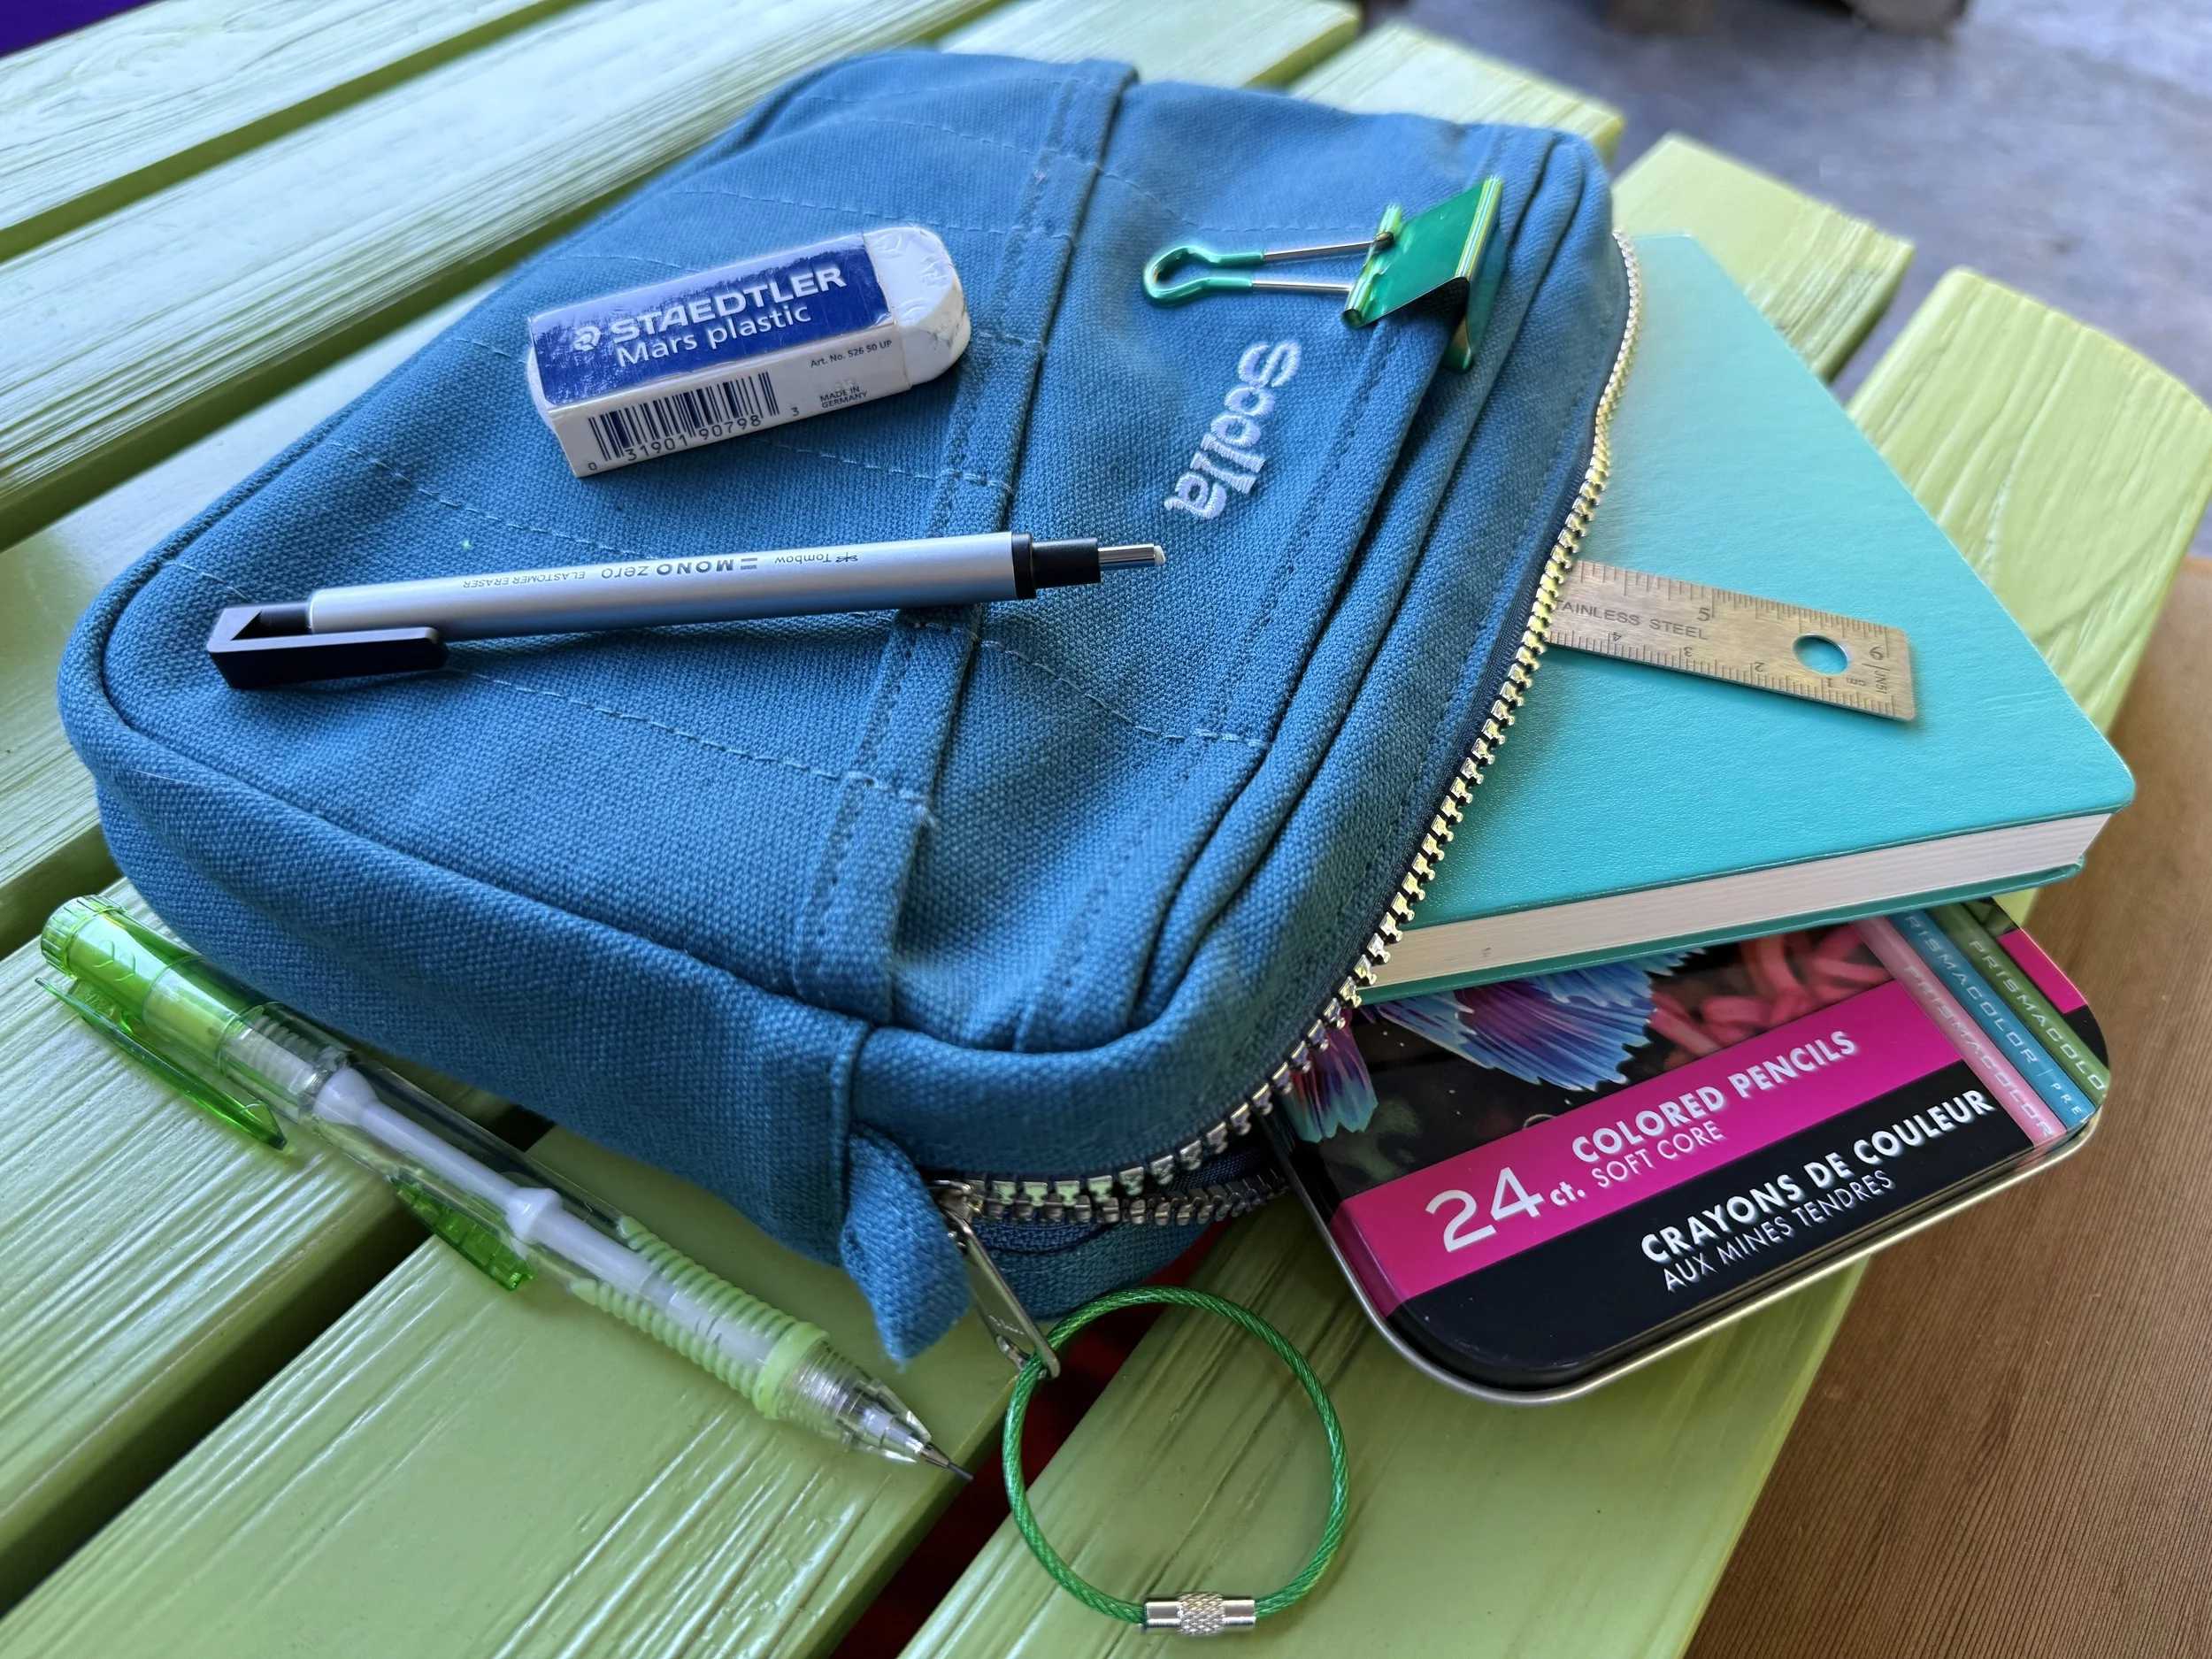
Every piece begins with a sketch. If I'm in the studio I'll curl up in my favorite chair, but my Soola is what makes sketching truly portable — keeping my favorite sketch materials organized and on the go for when inspiration strikes in the garden, at a campsite, or anywhere life takes me.
My kit is simple. I use a hardcover LEUCHTTURM1917 A5 notebook with dotted paper for quickly sketching shapes and lining things up, quality colored pencils, graphite pencils, a tiny metal ruler, and my beloved precision eraser for cleaning up small tweaks. Once the pencil sketch feels right, I apply colored pencils to get a real feel for the palette before selecting the glass I’ll use.
Materials & Storage
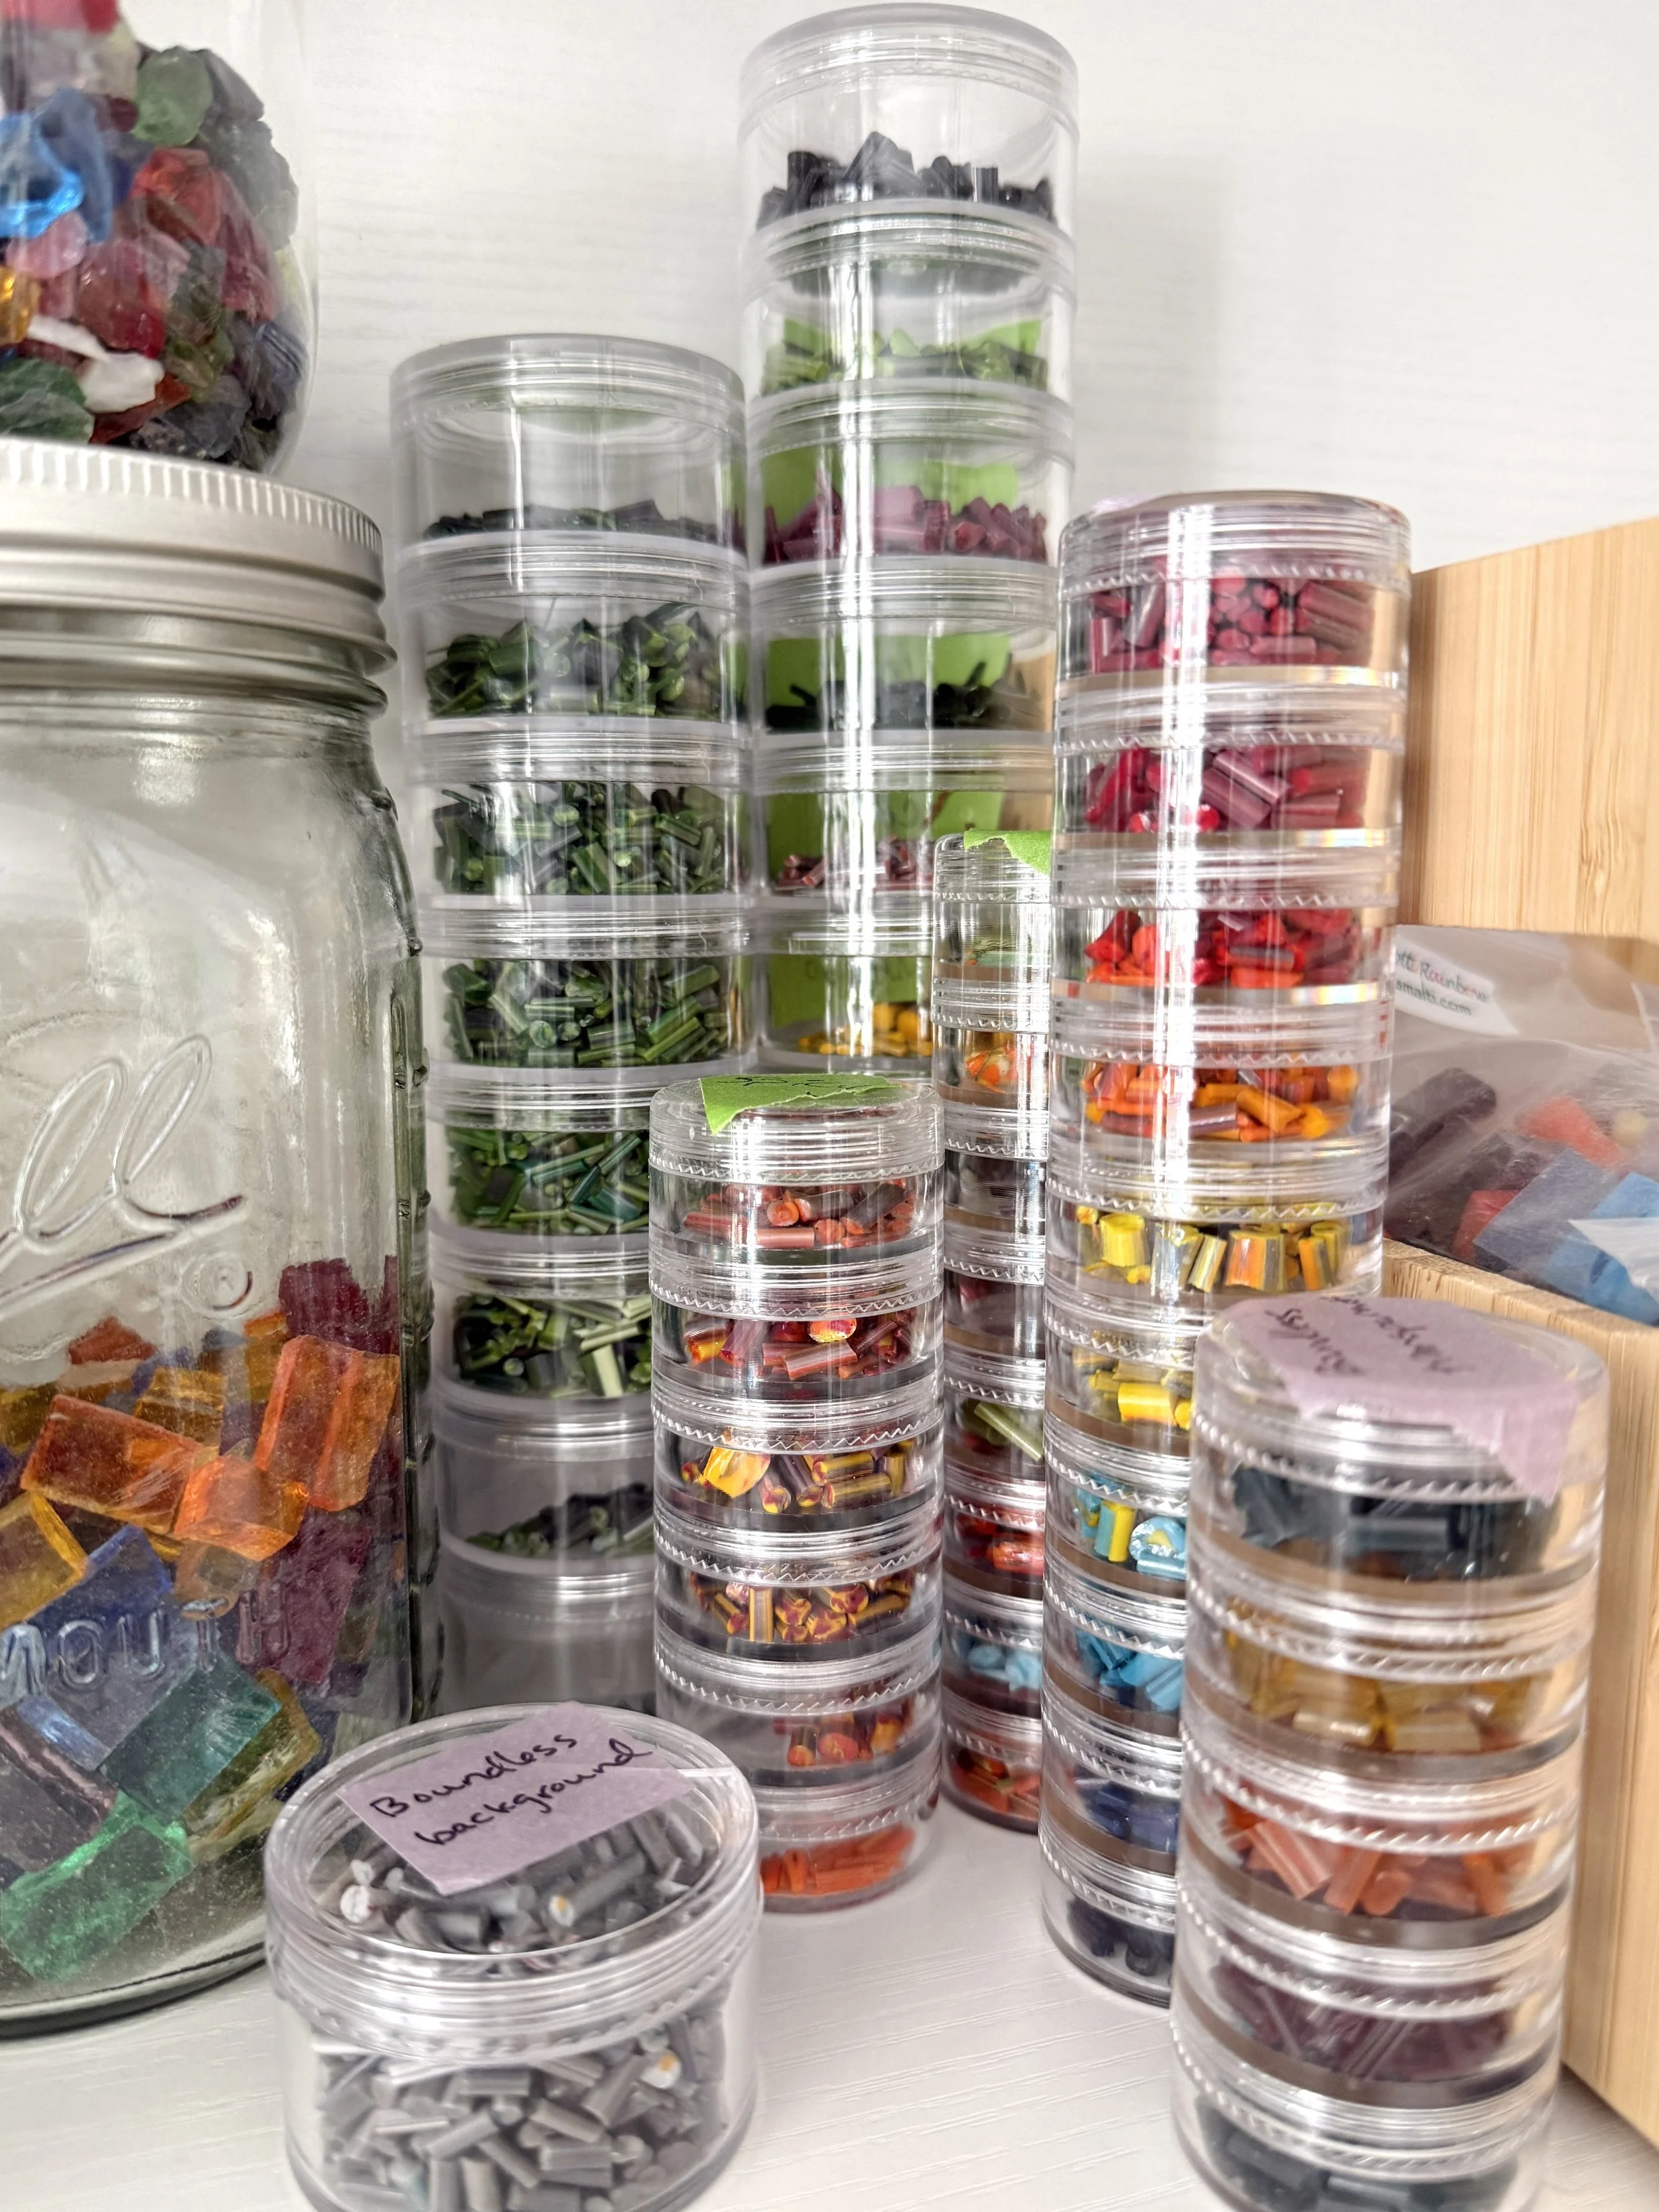
Organization is everything in the studio. My shelves are divided by material type, each with its own dedicated section (Italian smalti, stone, Mexican smalti, stained glass, etc). When working with so many colors and materials, knowing exactly where everything lives keeps me efficient and in the flow.
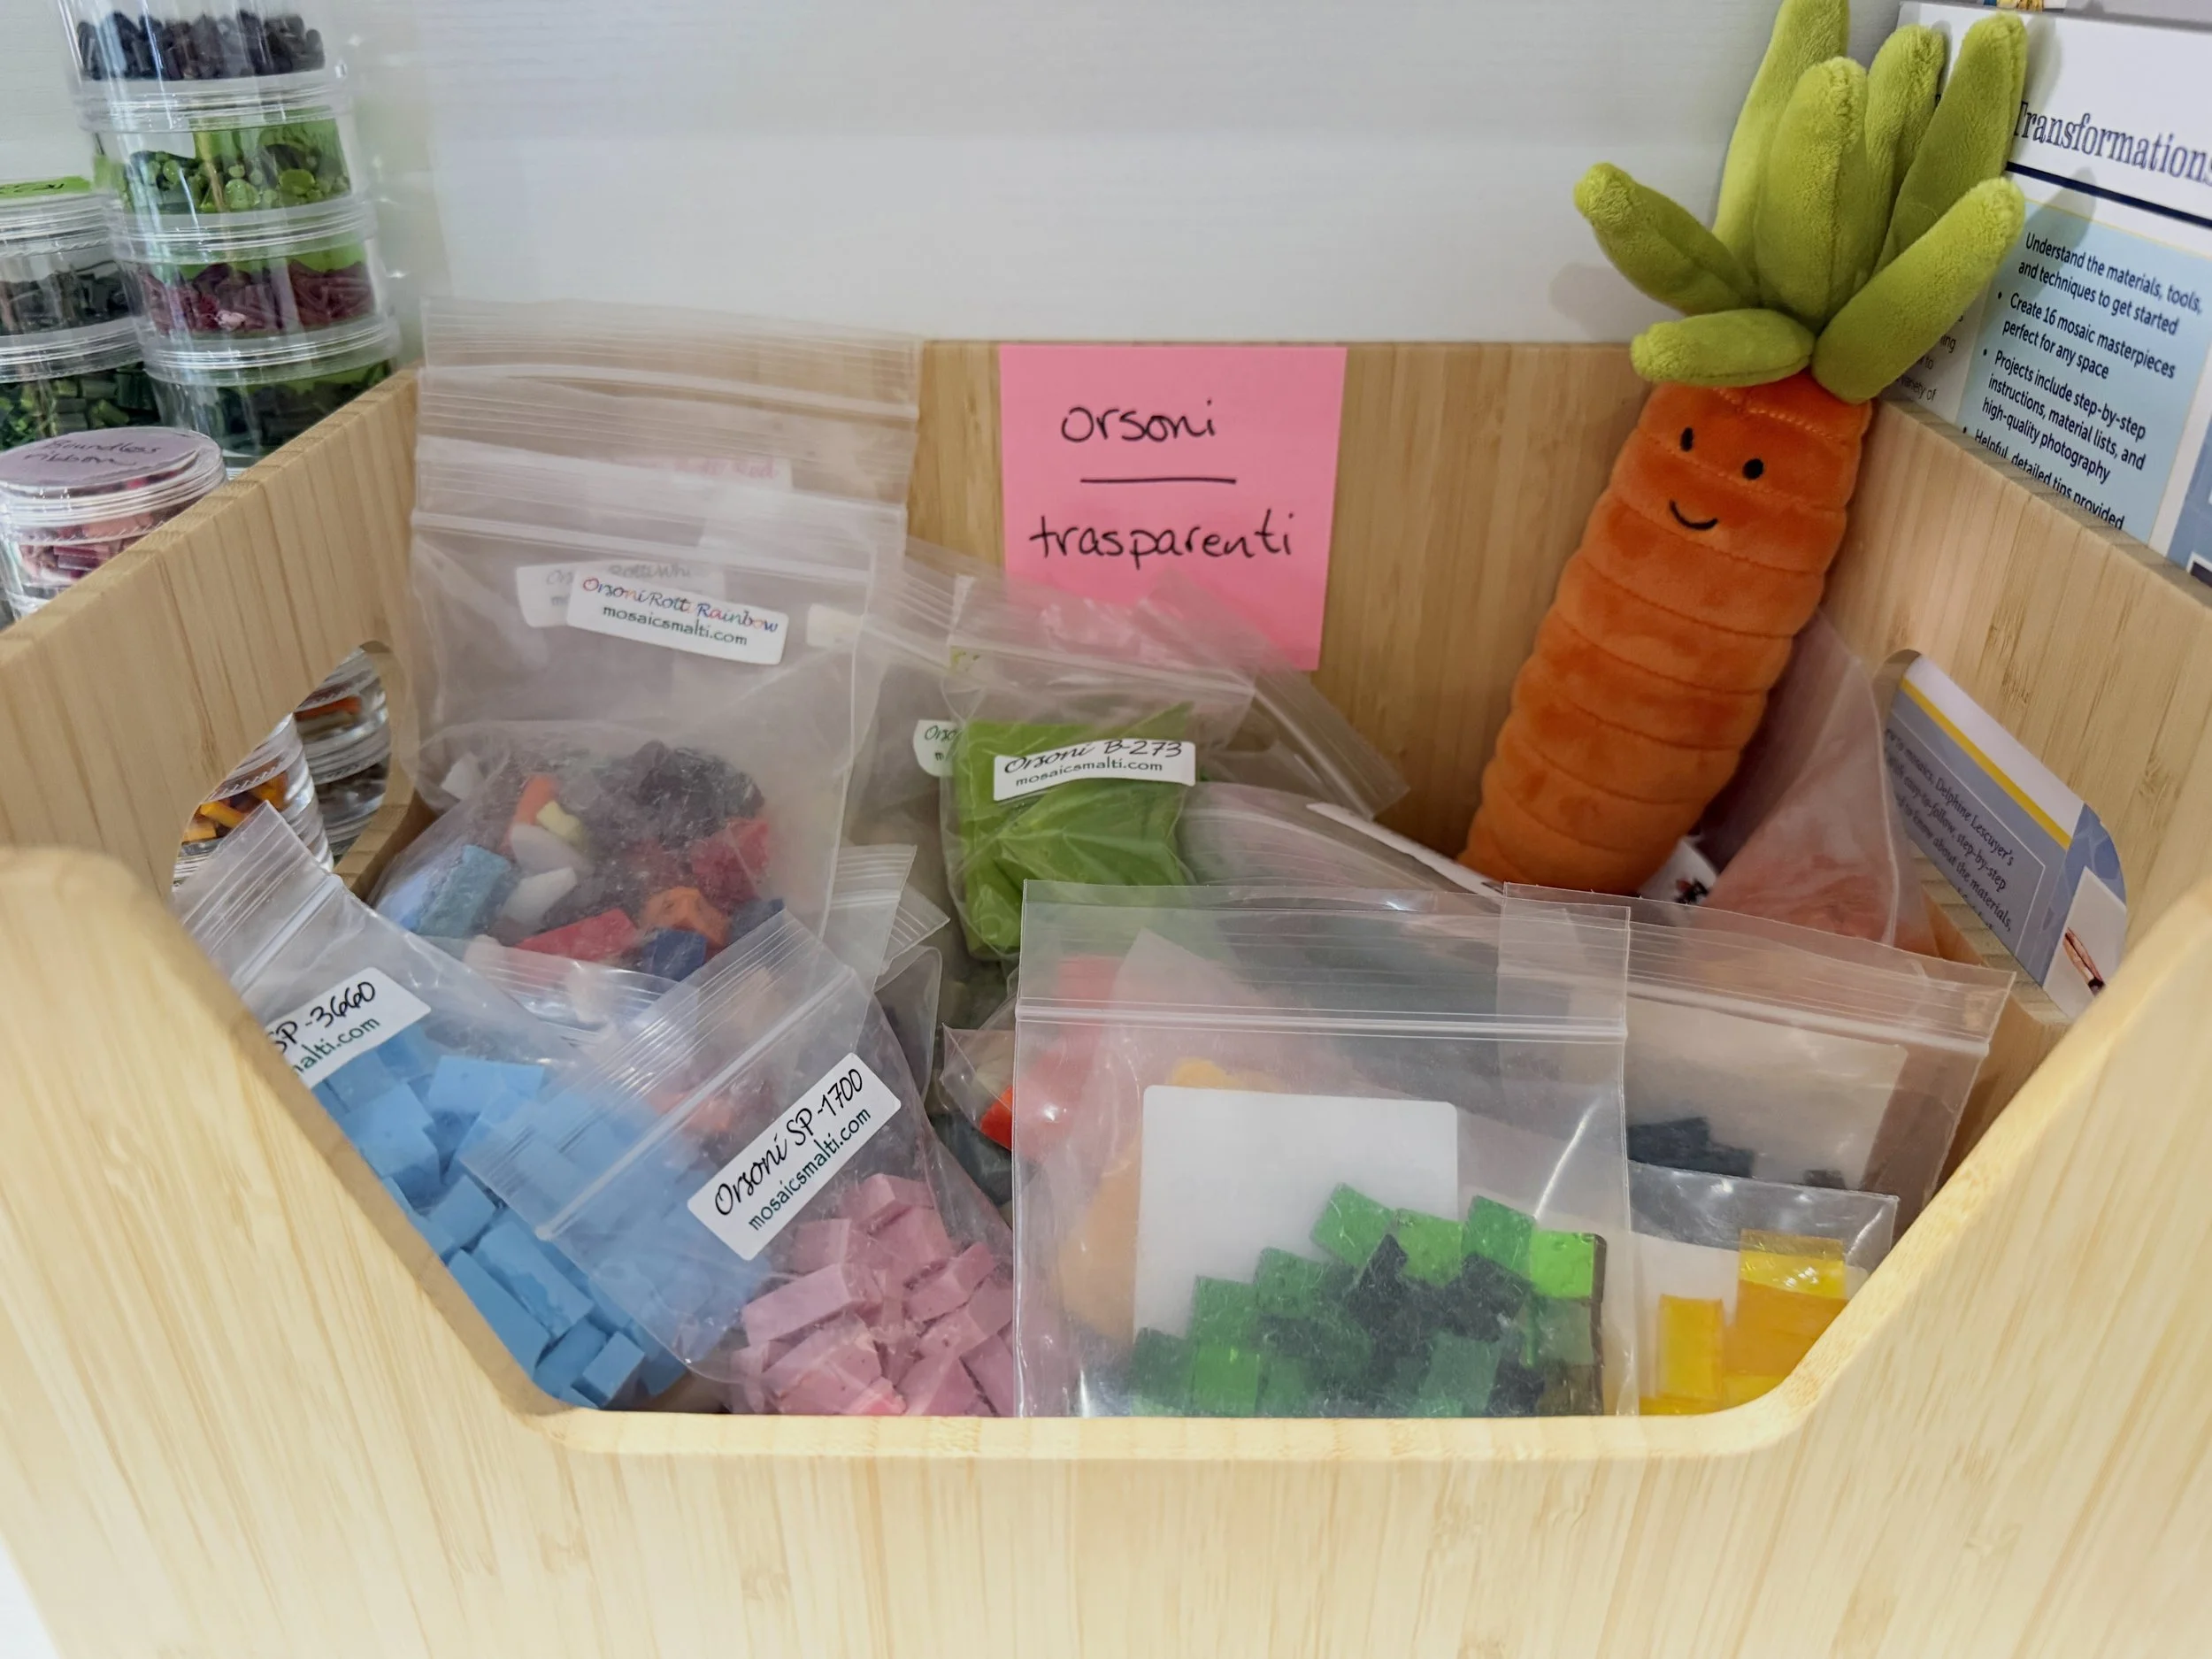
Glass jars and clear pouches are my storage solution of choice — being able to see exactly what I have at a glance makes all the difference when I’m planning a piece. During a project, materials live in sorting trays within easy reach, and any leftover threads at the end of a session go straight into stacking jars so nothing gets lost or goes to waste.
Before I order anything new I always check my sample boards first — labeled glass and stone samples I can actually see and touch before committing. Ordering the wrong shade is a mistake you only want to make once!

3D Printing
One of the unexpected joys of our shared studio is what happens when two makers collaborate.
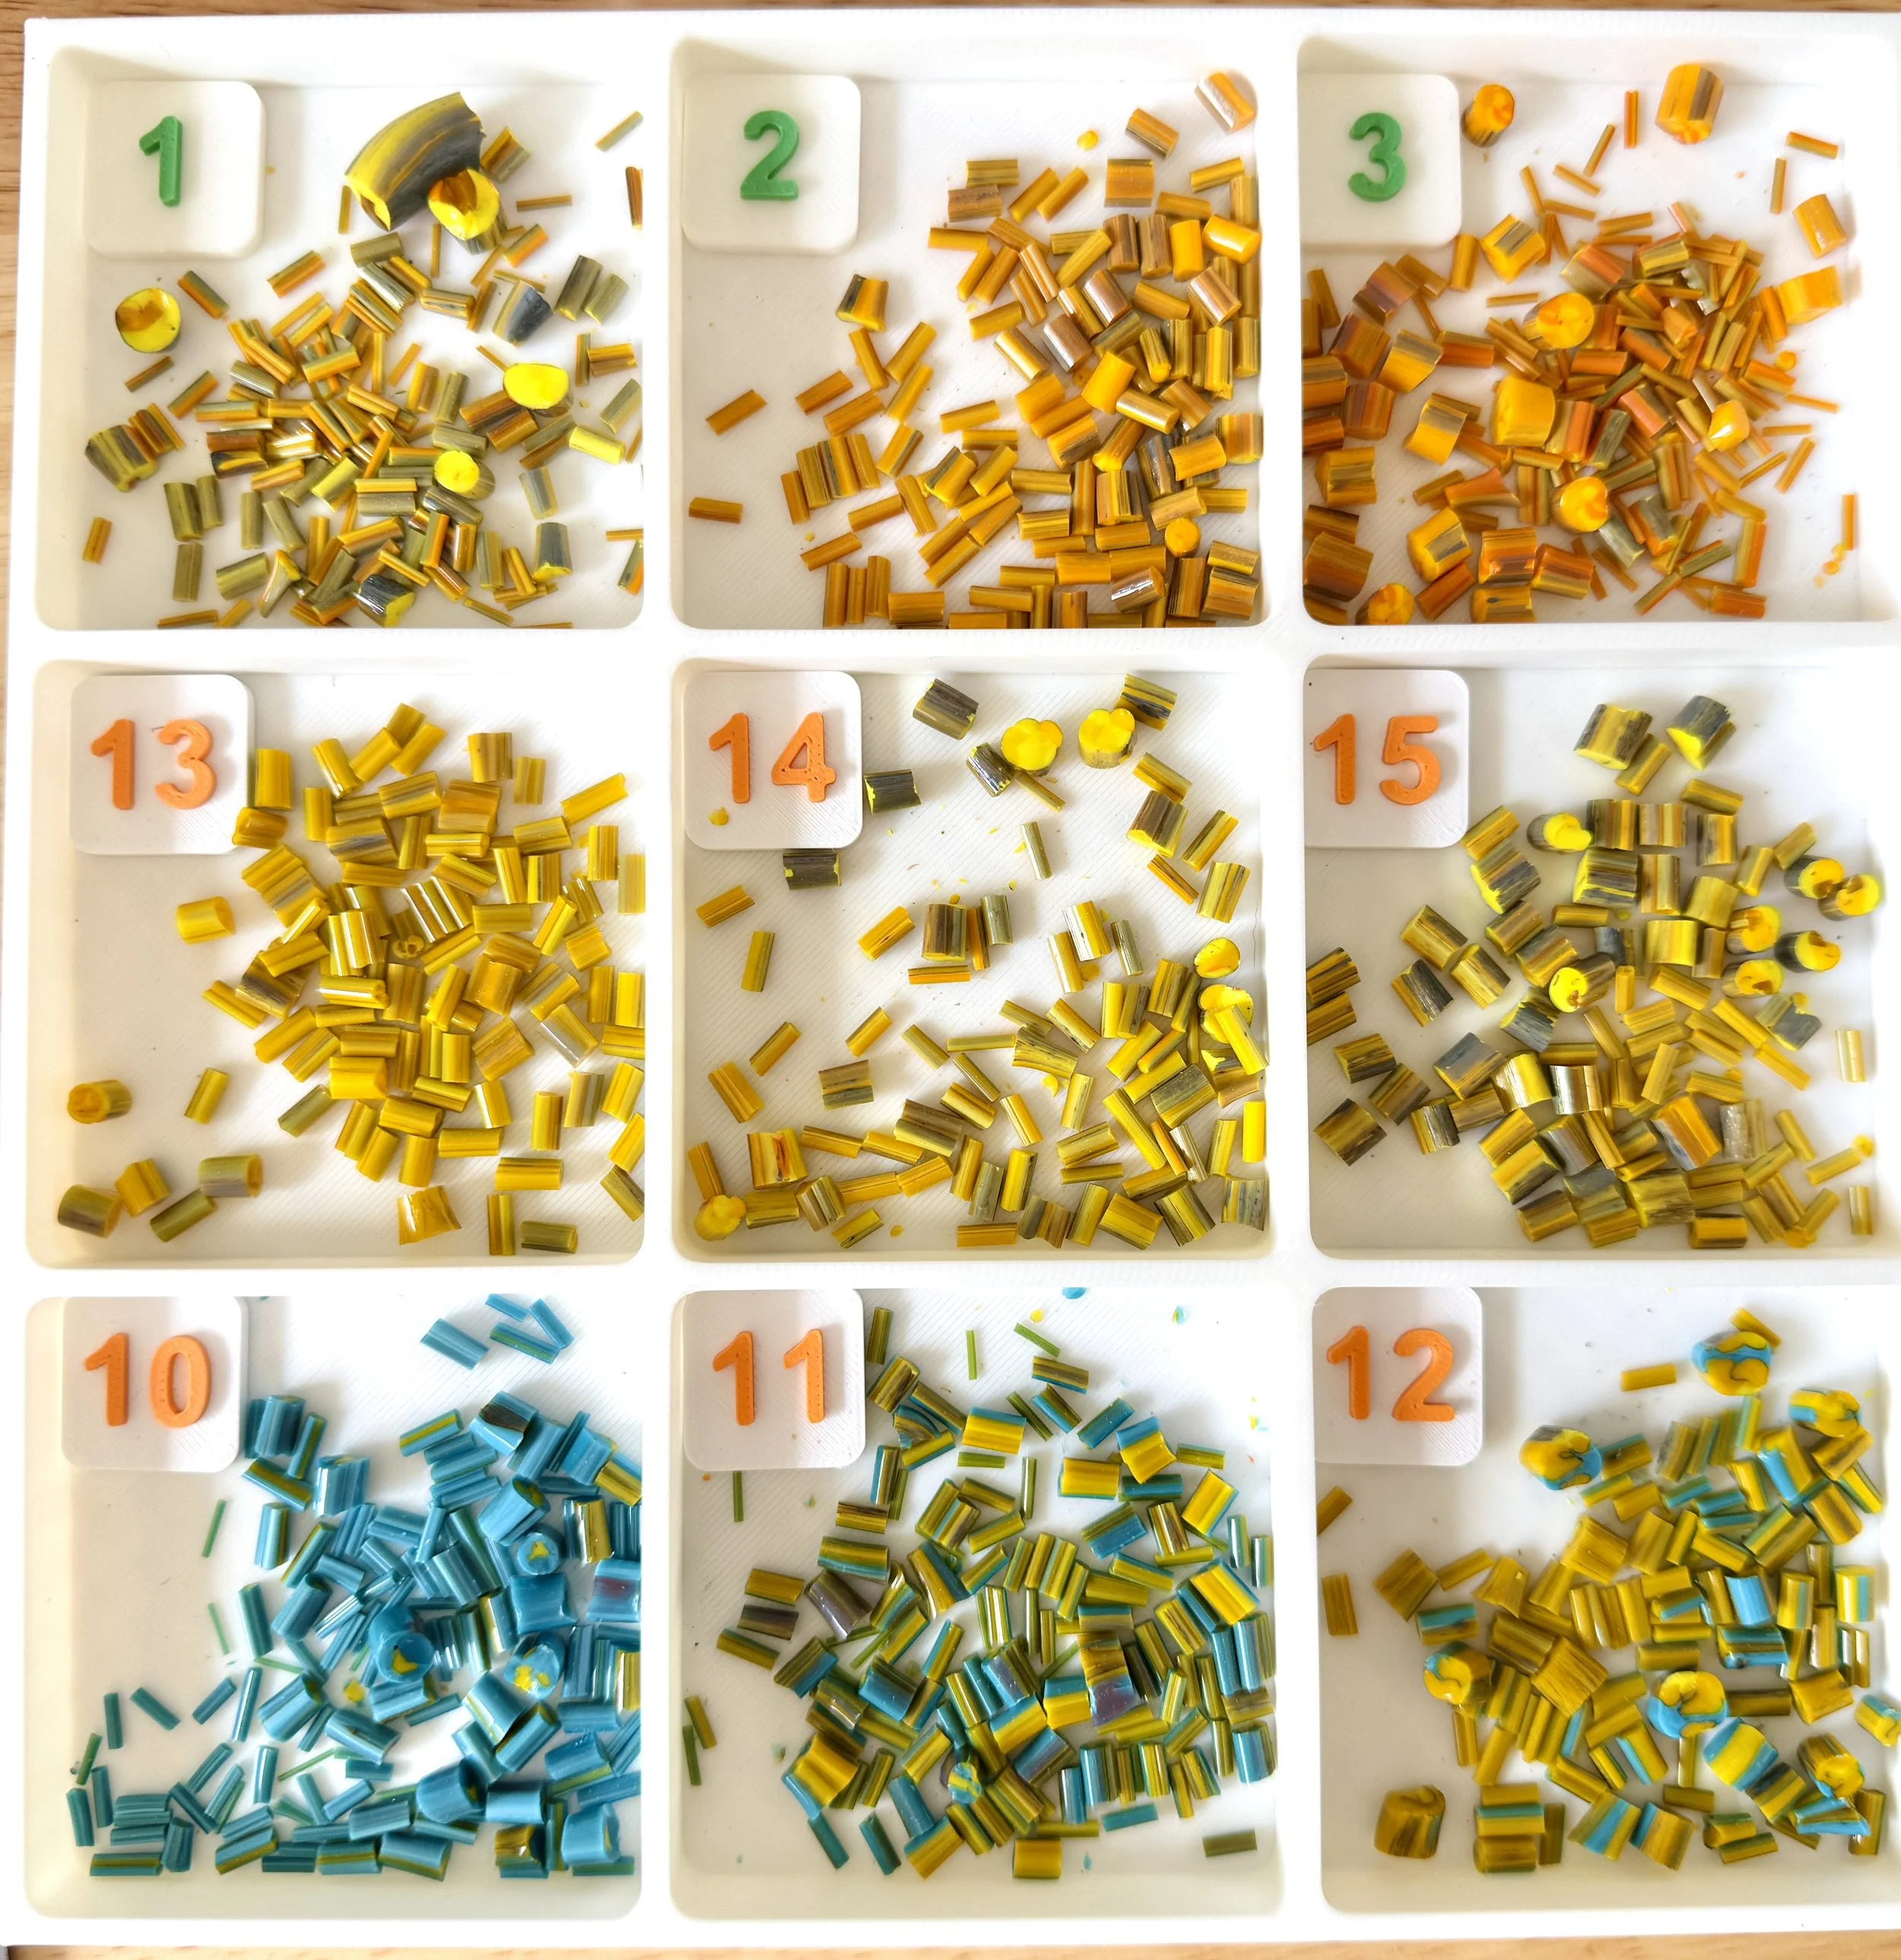
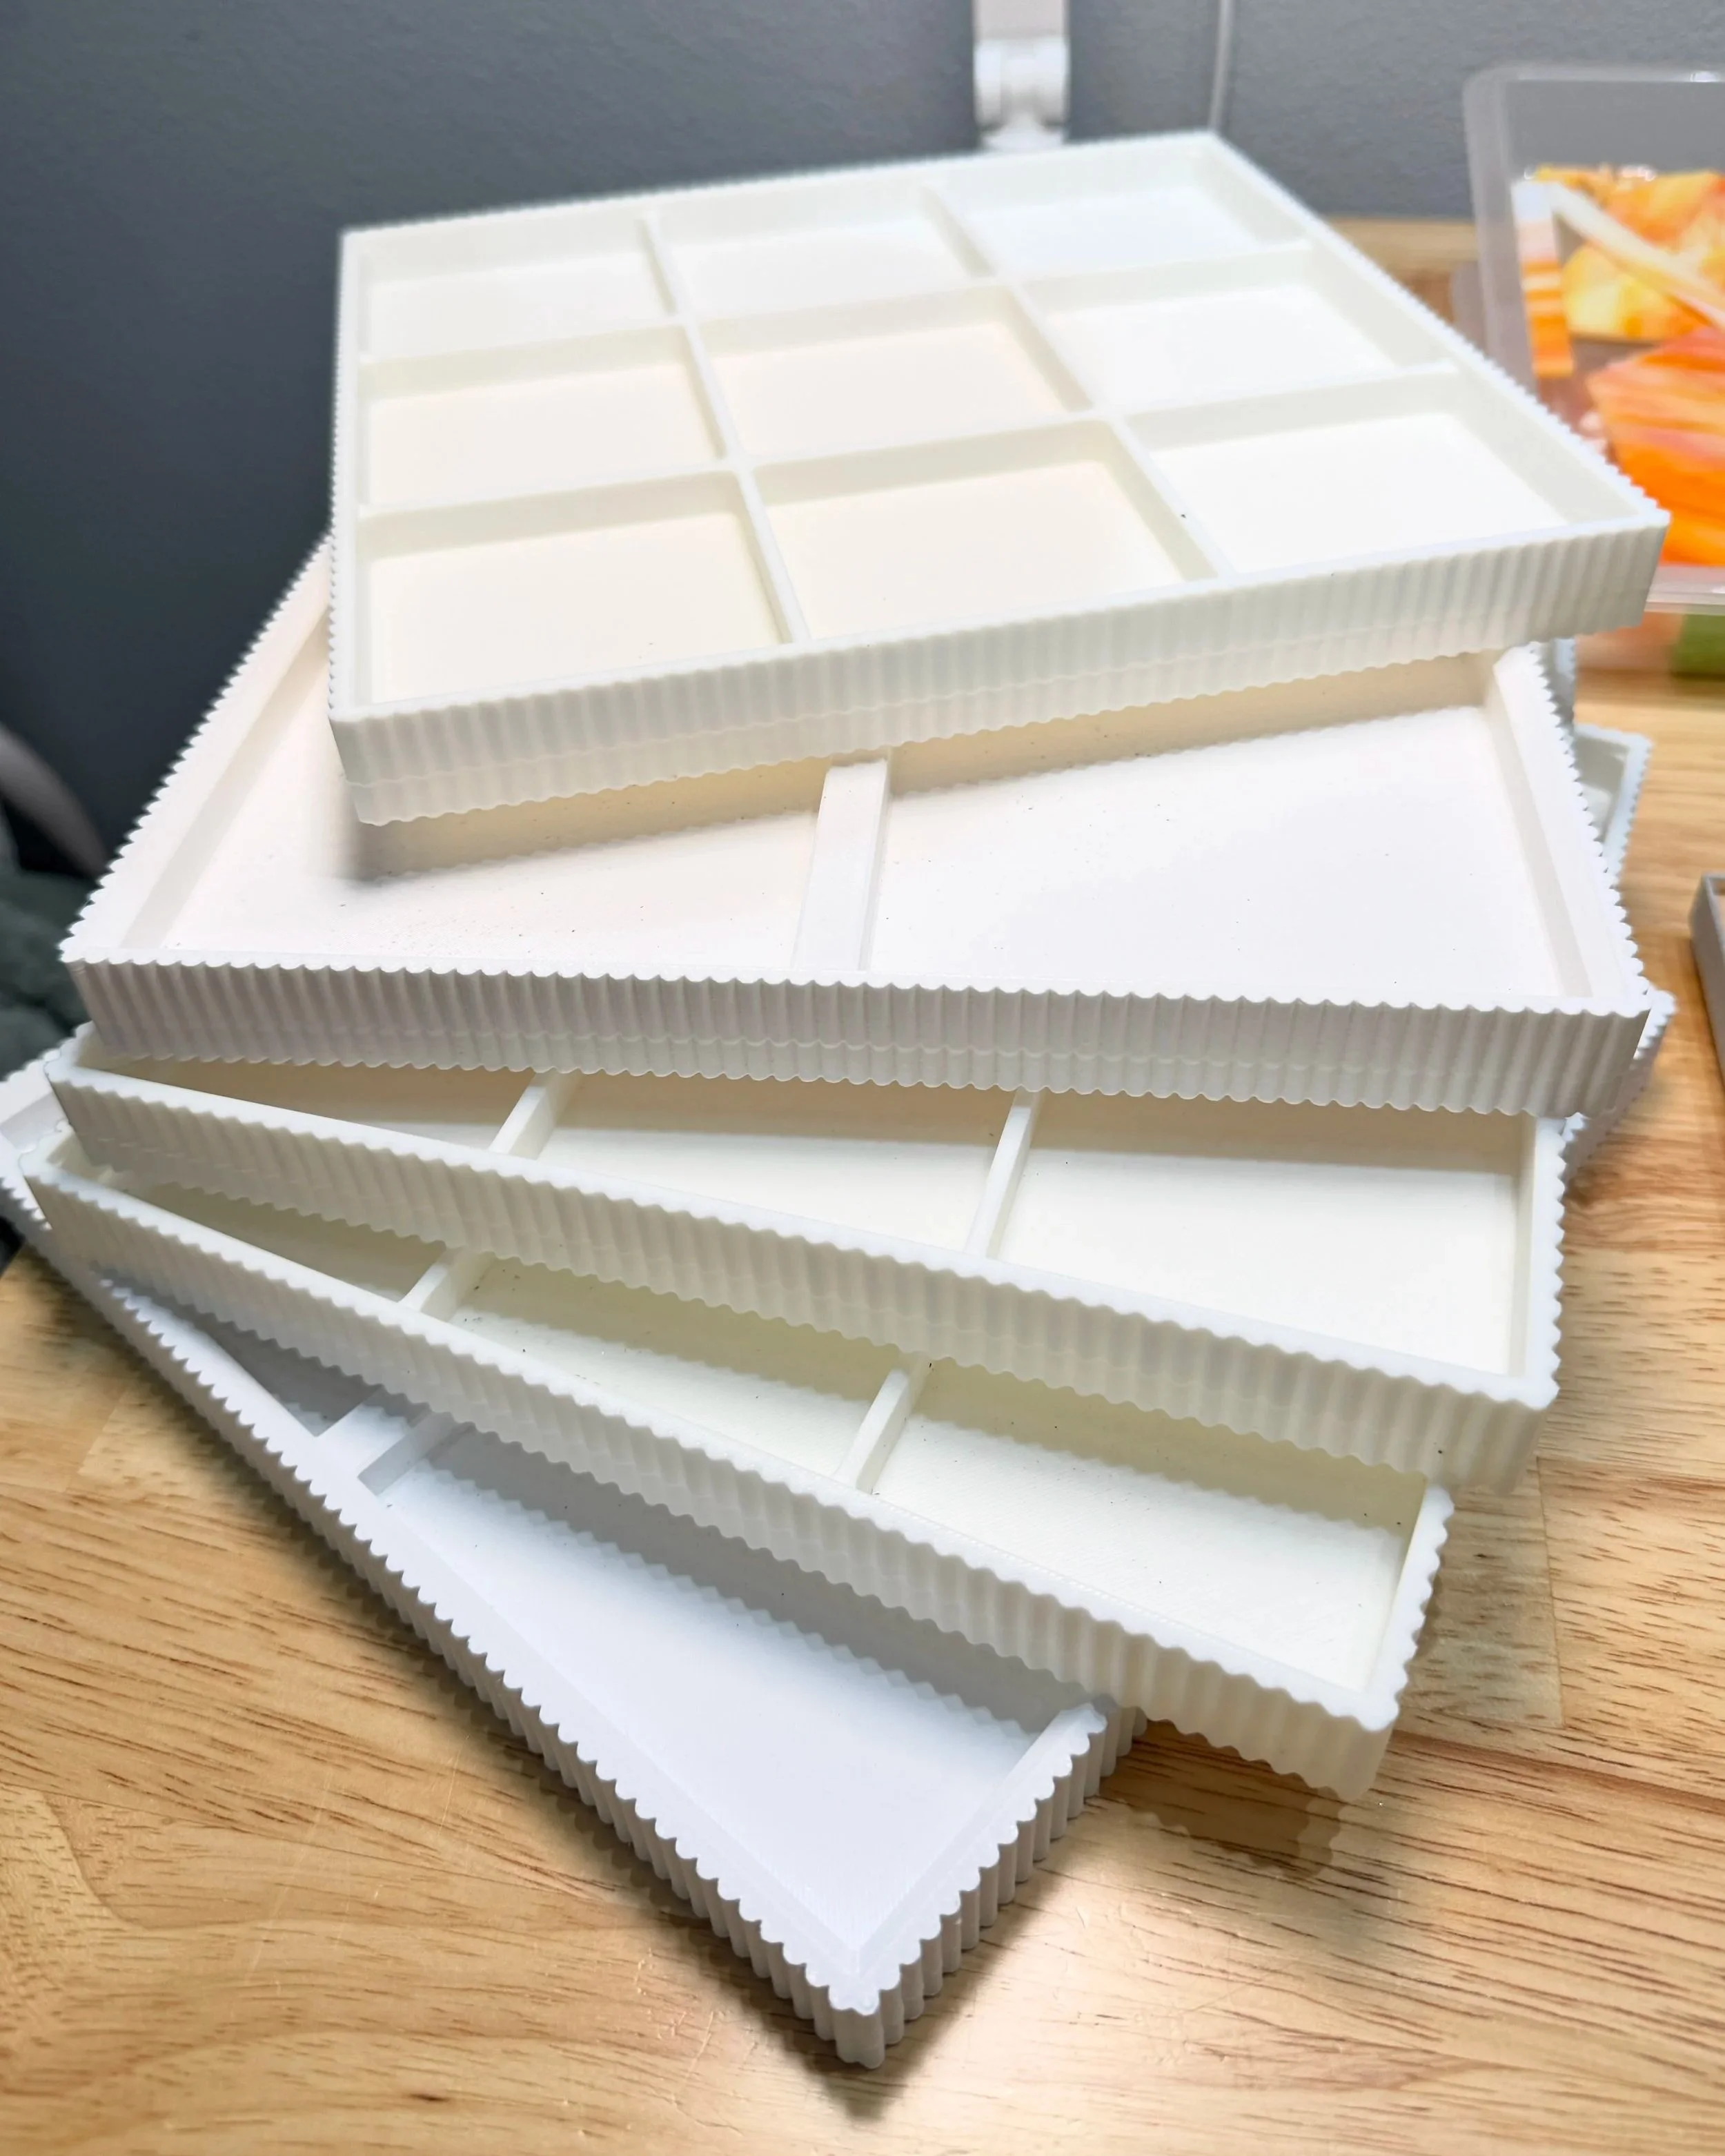
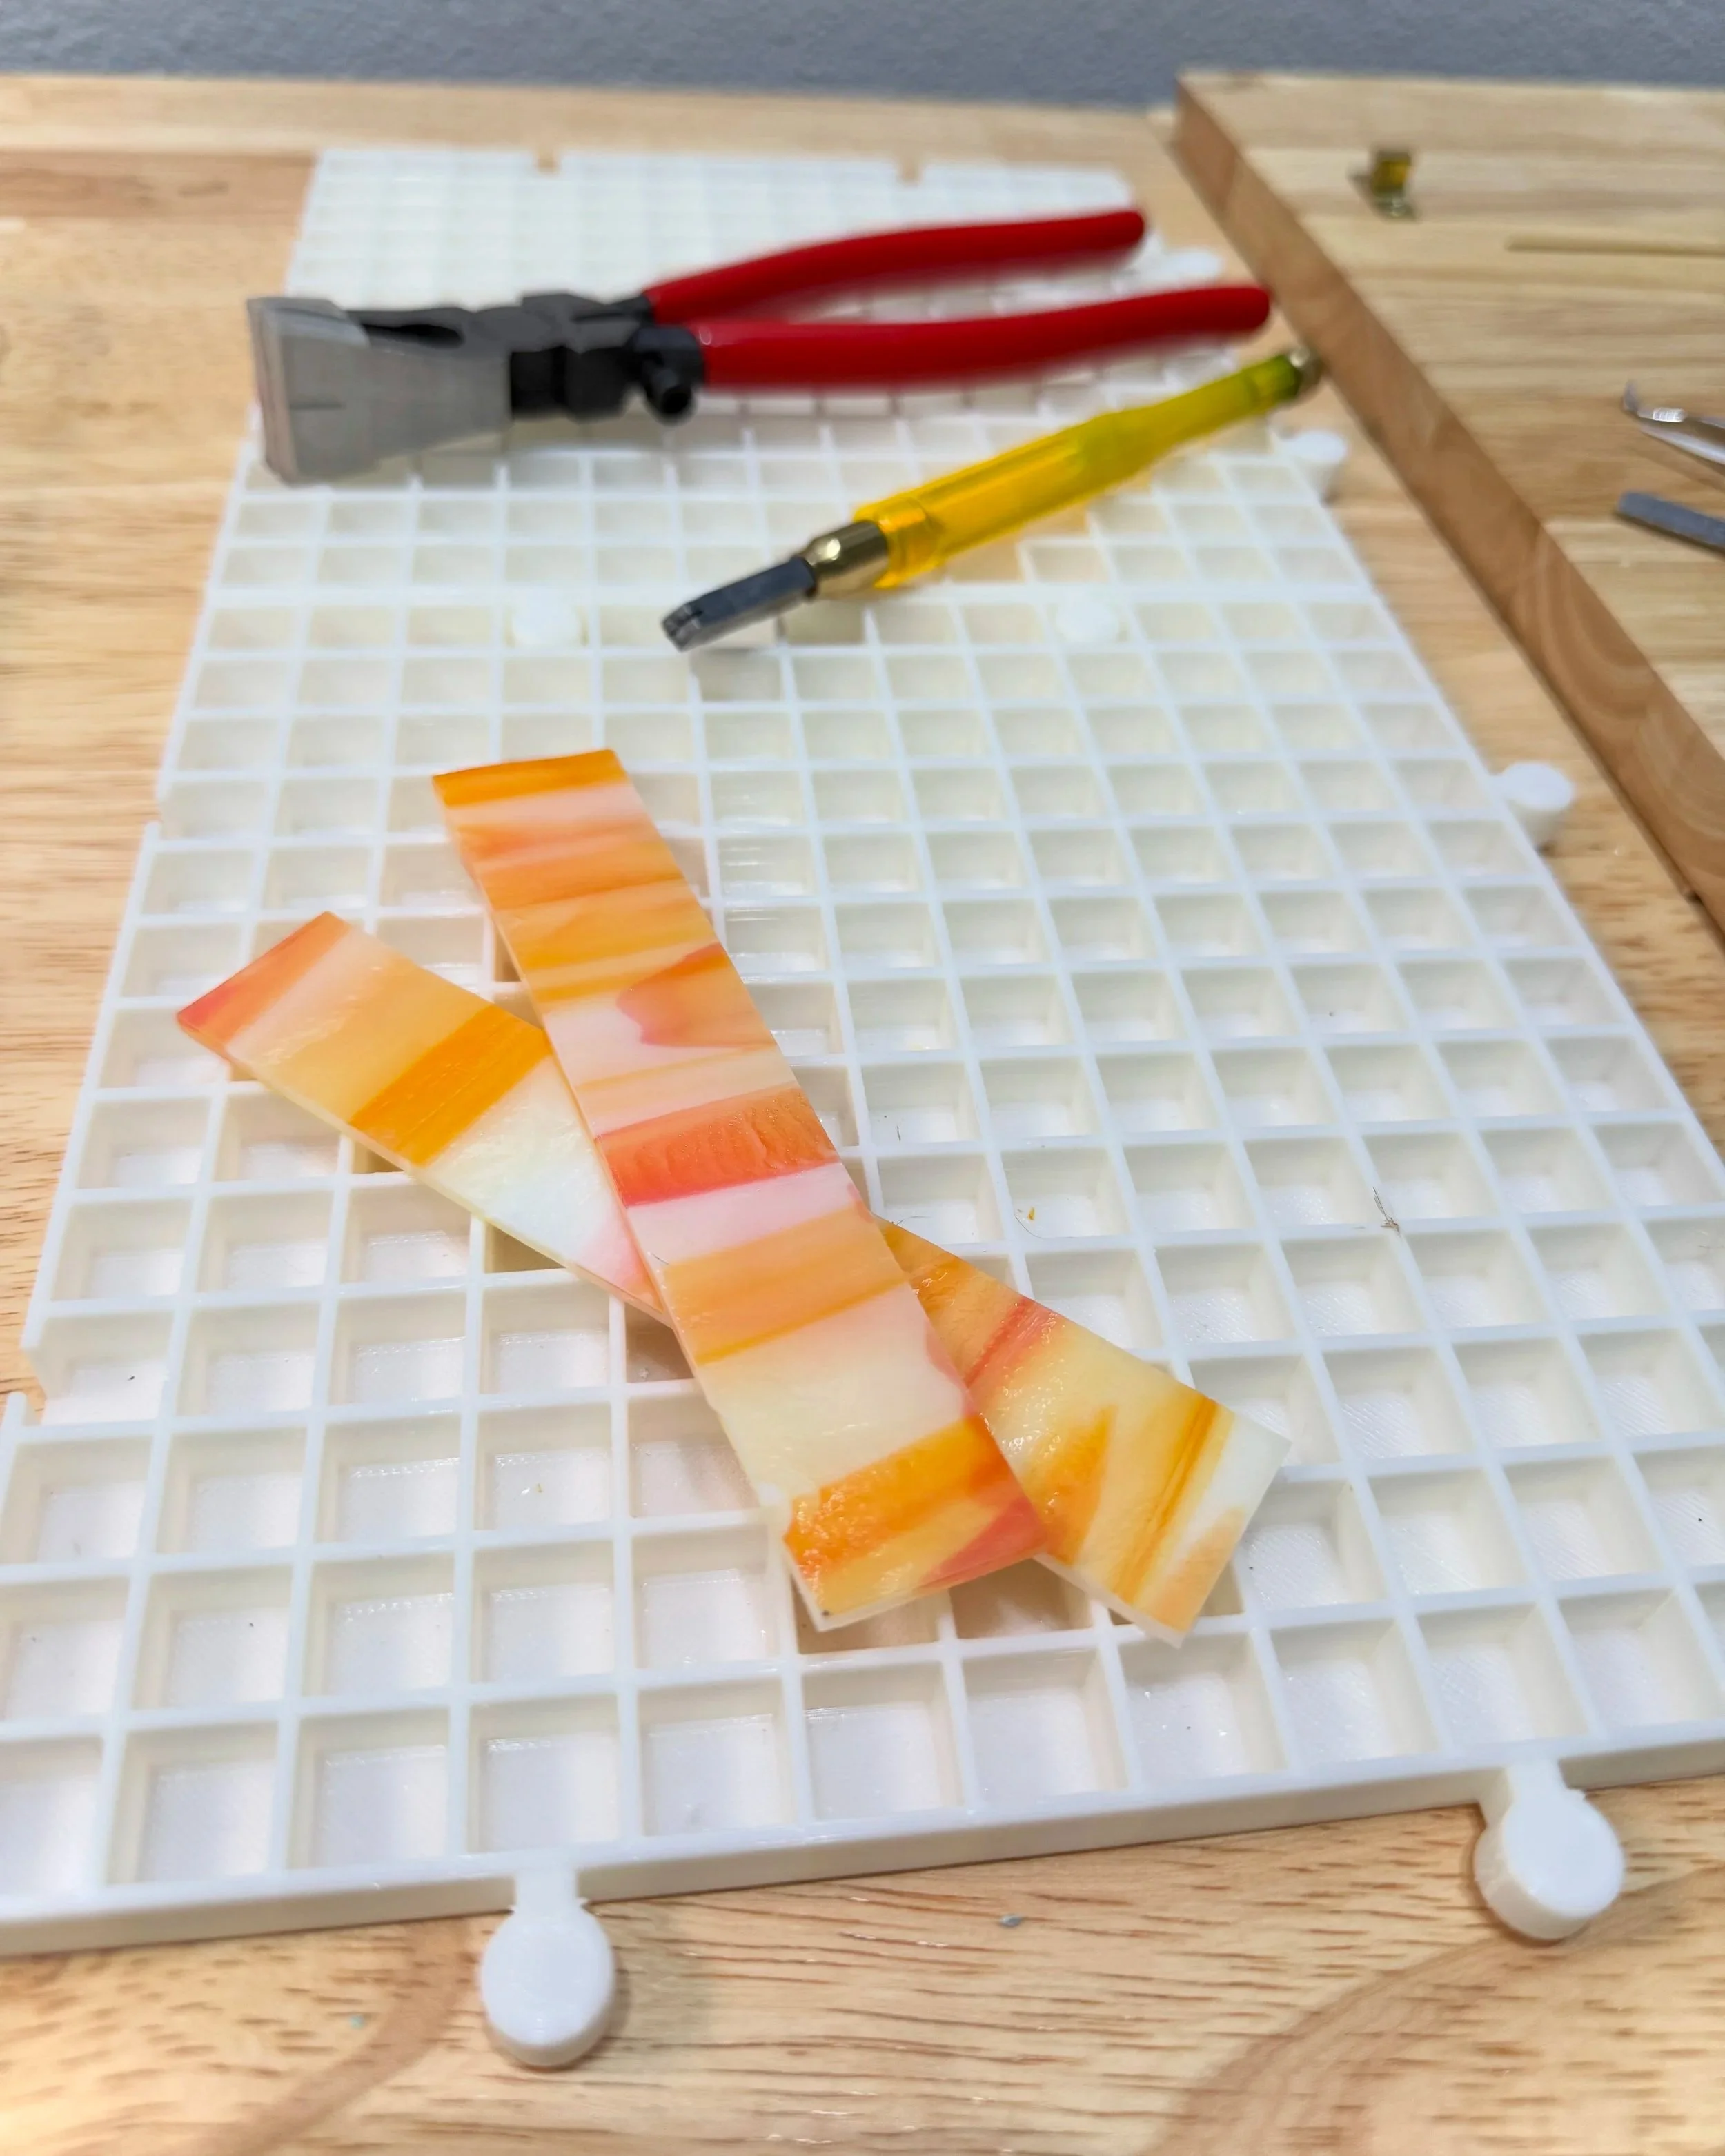
My husband has a Bambu 3D printer and a nice collection of filament spools in all kinds of colors and materials. He has designed and printed pieces that have genuinely changed how I work. There are trays in 2x2 and 3x3 sizes that keep tesserae organized for different projects, numbered tiles I can place directly in the trays to track batches, and interlocking waffle grids for scoring and cutting stained glass. My workflow wouldn’t be the same without them.
We’re also exploring custom printed housing and frames for finished pieces, and the idea of framing made specifically for each piece is pretty exciting.
The Garage Space
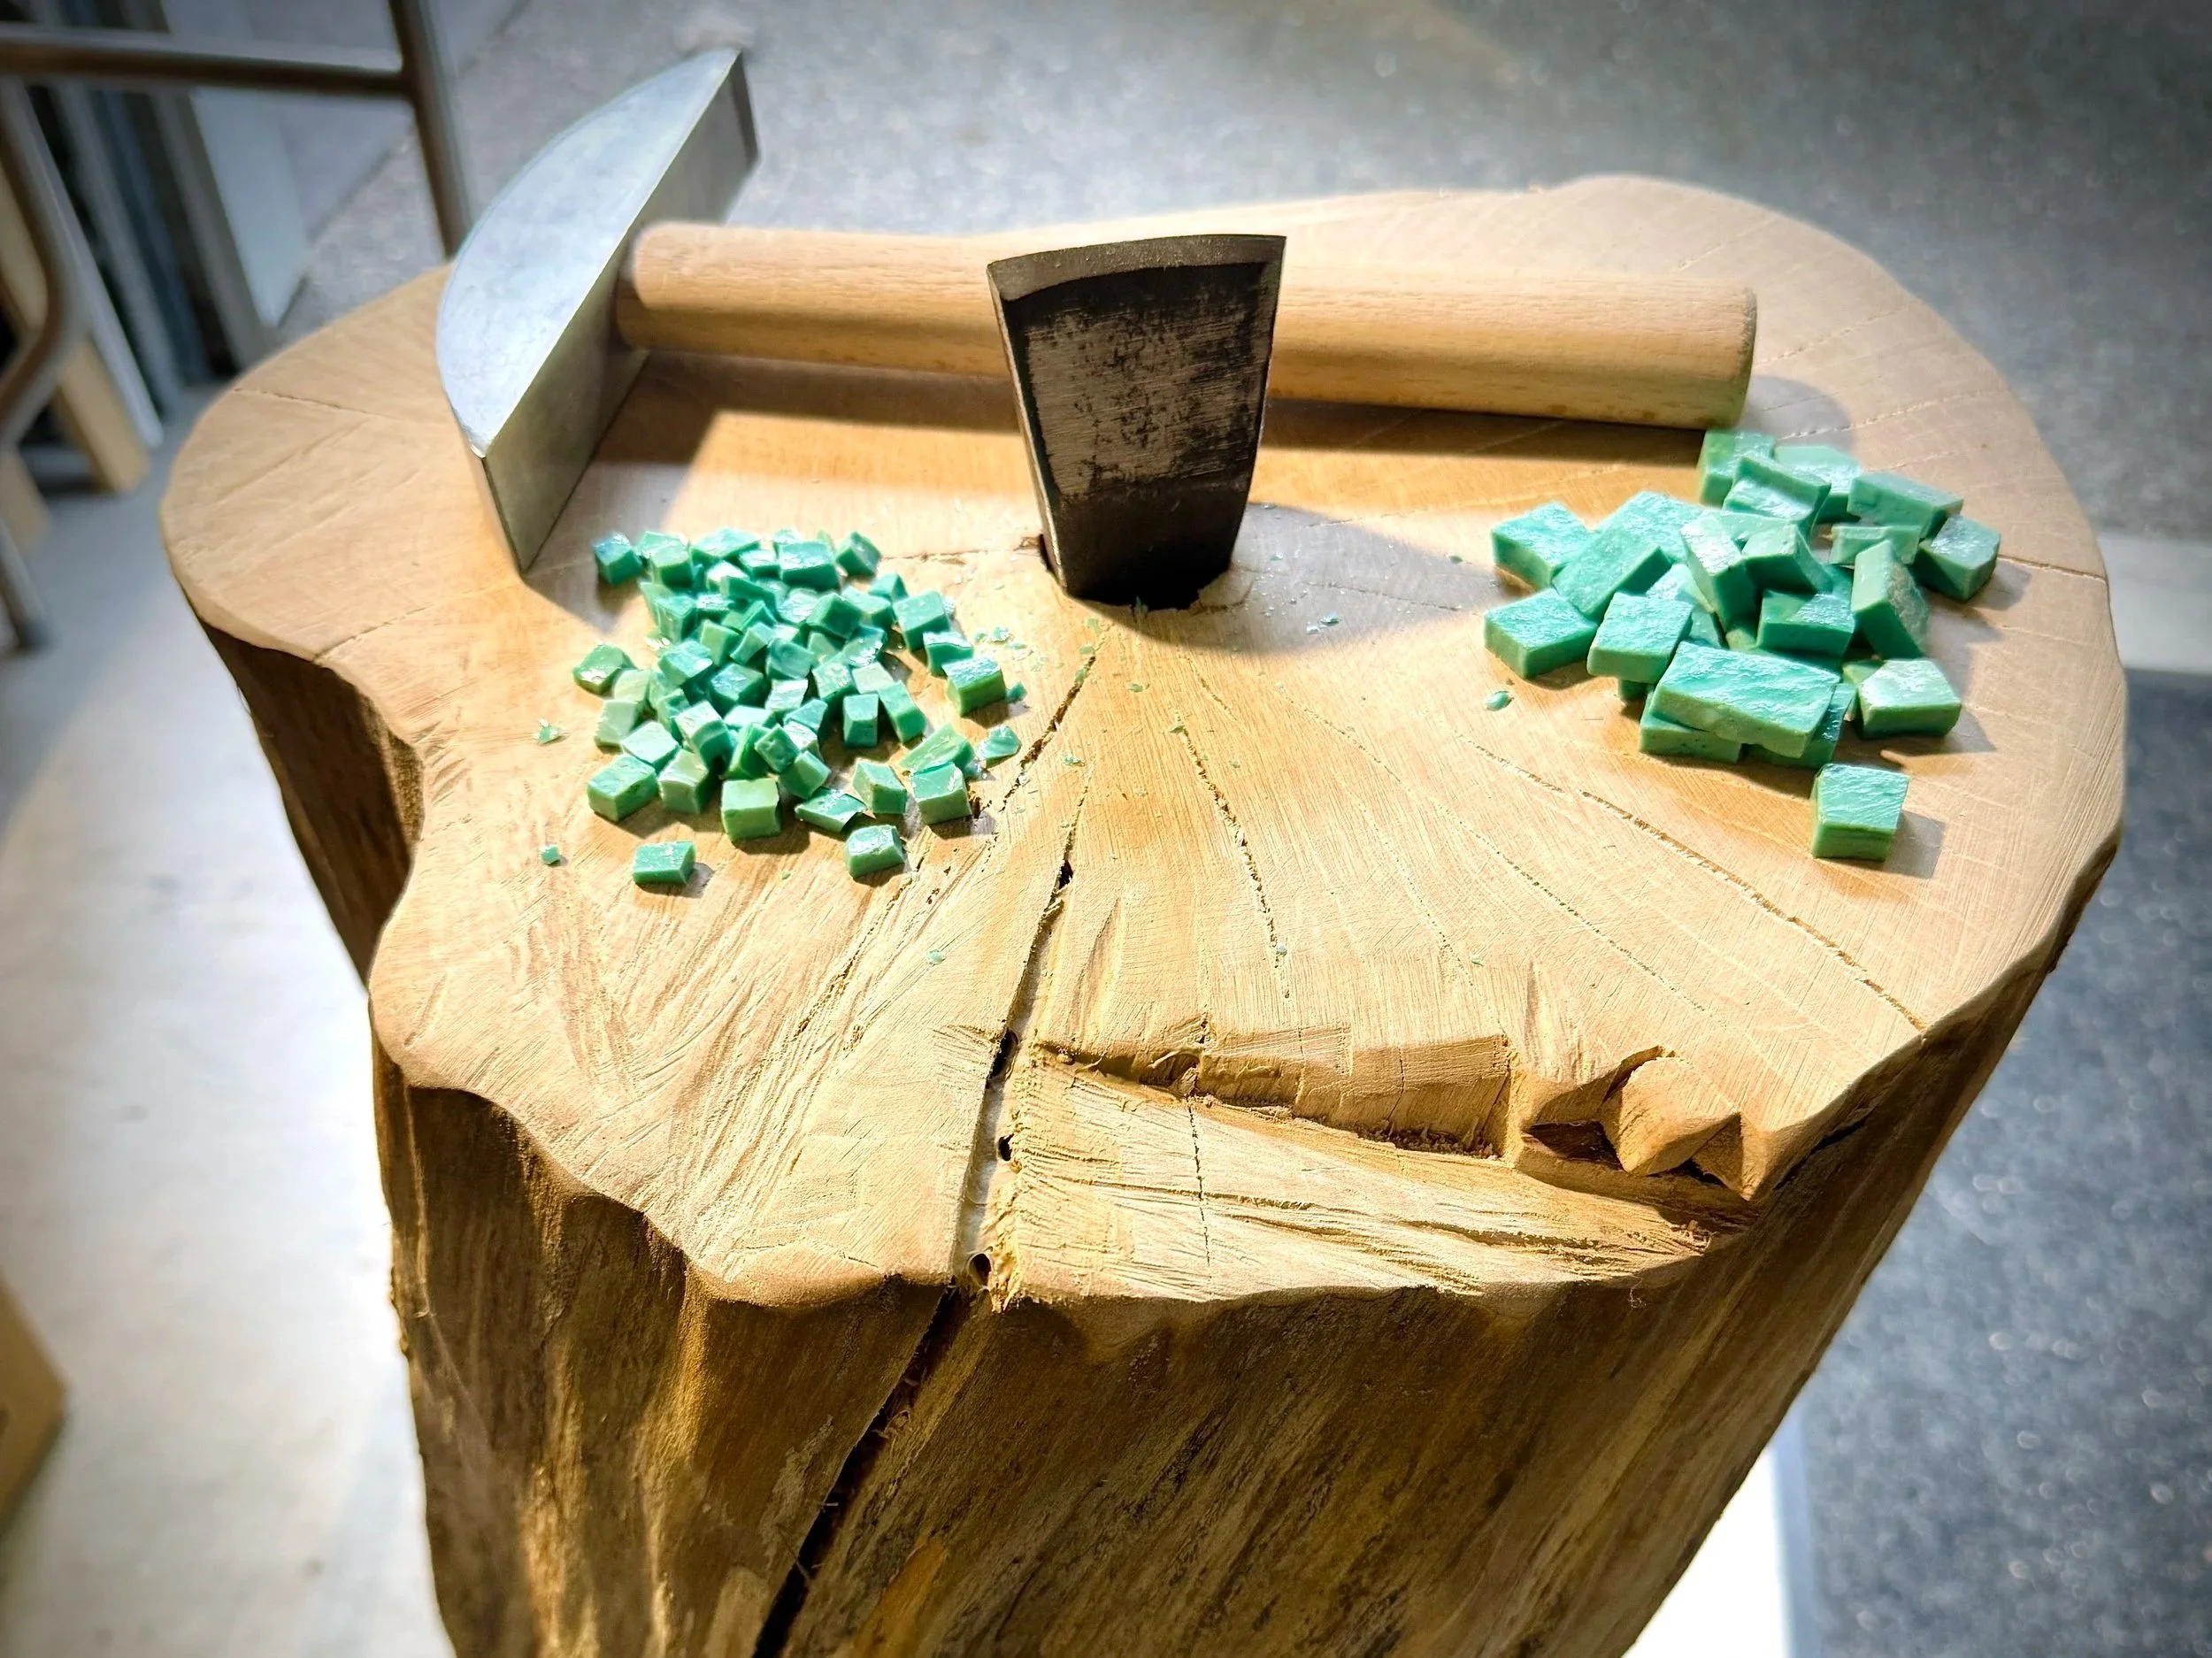
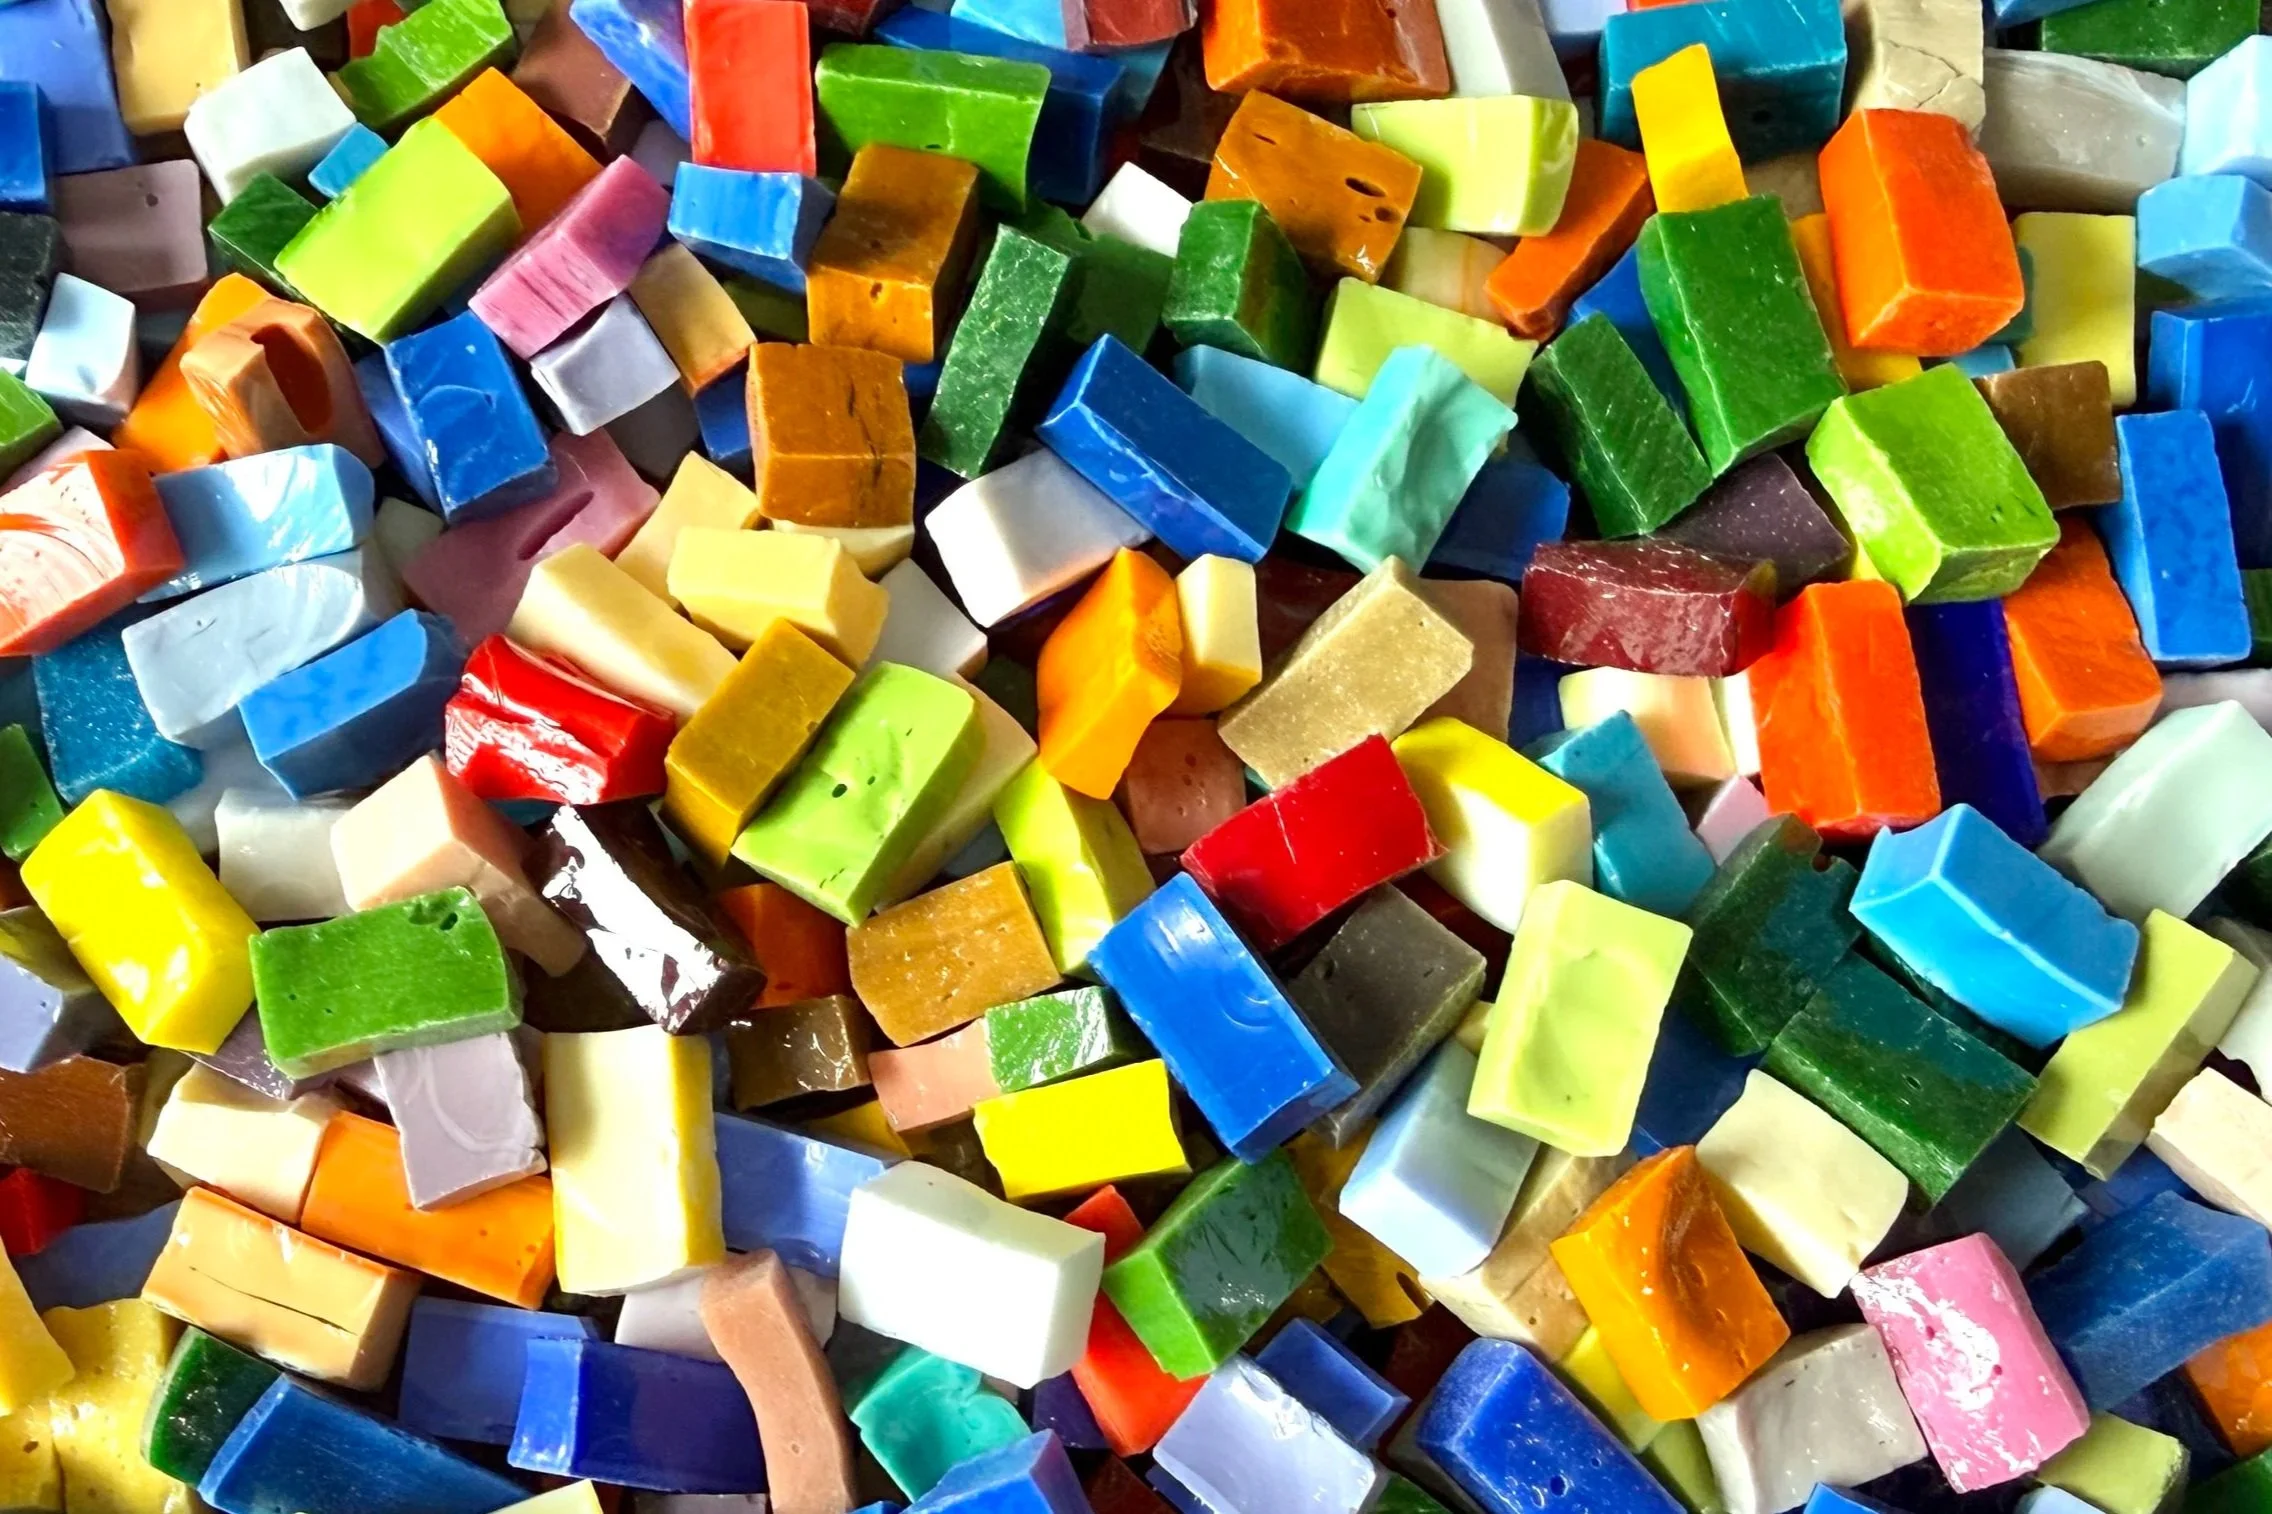
The garage is my torch space and where the raw material magic happens. When it’s time to pull threads, I head out here, fire up the torch, and open the bay door. My hammer and hardie live out here too, where I break large batches of smalti or stone down into tesserae — one of my favorite parts of the process.
Ventilation is non-negotiable. The bay door is always open when the torch is on, and a small fan at my workstation keeps air moving and fumes heading in the right direction —> outside. Over time I’ve built a safety routine that keeps me safe, focused, and in the flow, and I take it seriously every single session.
If you’re curious about torch safety or thinking about exploring this art form yourself, I put together a full guide covering everything from gear to environment to mindset. Check out my Safety First post.

That’s the Tour!
Thanks for stopping by and taking a look around. Having this space inspires me every day and I feel lucky to work in it. If you want to see what happens in here, take a peek at featured works in my Mosaic Portfolio.